
 Which one works for you?
By Kathleen Laurel Sage
Hi everyone,
We are now well into the New Year and many of us have already signed up for classes that inspire us to learn a new technique and make that stunning project. The weather is cold and dismal so it’s an ideal time to keep busy during the day with your machine projects whilst keeping cosy and comfy in the evenings with some hand stitching.
One of my favourite winter evening pastimes is my Gold Work embroidery as I can sit in my comfy armchair and stitch it when watching the television and being with the family. I can even manage it at a push with my dog on my lap.
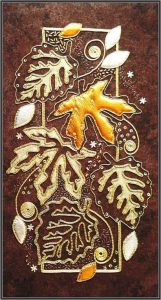 Traditional Gold Work can seem so very intricate and people can be put off by what is actually a very easy to achieve technique when you are shown how. The simple stylised designs are accentuated by a couched cord sewn around them, then infilled with seed beads, leather and a whole host of lovely shiny gold work wires and cords that are available from the shop.
If you’re not a hand stitch kinda girl don’t fret because I like to push the boundaries to try and emulate the look of traditional stitching using my sewing machine. I have spent several happy days in my studio working out just how to do this and bring this stunning gold look to those of you who prefer to use your sewing machines.
What’s the difference?
First of all the embroidery hoop went and a stabiliser fabric was introduced to support my design. A quick gathering of all things gold such as cords, machine thread, ribbons and beads and I was ready for the challenge. Now all that I had to do was experiment with how to emulate my lovely gold work using only my trusty old sewing machine! With a little practice and a good look at what my basic machine had to offer I soon realised that it was no big deal, just use the machine stitch to accentuate the design and to couch the cord. Simple really… What about the leather though? Well the machine didn’t like going through such small pieces so back to the drawing board, but not for long. Tudor Rose Patchwork has a new and sensational product called Fusible Glitter Film and wow it does a grand job of replacing the padded leather of the traditional method. So away I went again. With the use of a few utility patterns and a dab of gold paint, I had soon created my new machine version of traditional gold work and wow I was pleased with it. Plus it took me much less time to complete and finish than the hand stitched version. A real plus when time is short.
I love the fact that it can be done both ways and I invite you to come along to my machine embroidered, ‘All that Glitters is Gold’ workshop on the 18th February and have a go for yourself. Whether you’re a hand stitch girl or a machine stitch girl, you can both do gold work.
And for those of you who love your hand stitched version don’t forget to book a place on the Gold Work sunflower on Monday 26th June. We have also opened up another date for the popular Gold Work Bumblebees on the 22nd November. So hurry and book your place as they are going fast!
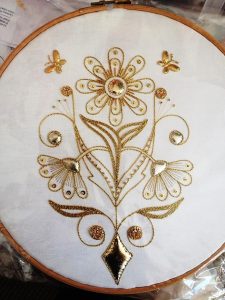
Hand embroidered Gold Work
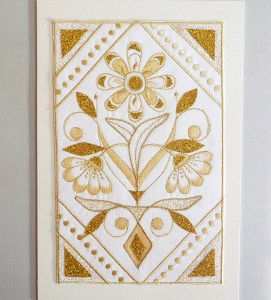
Machine embroidered Gold Work
You can book a place on Kathy’s upcoming courses, and find out about our other courses HERE
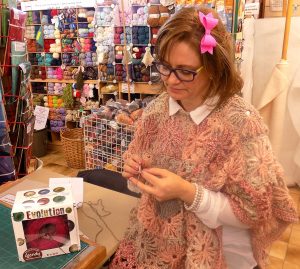
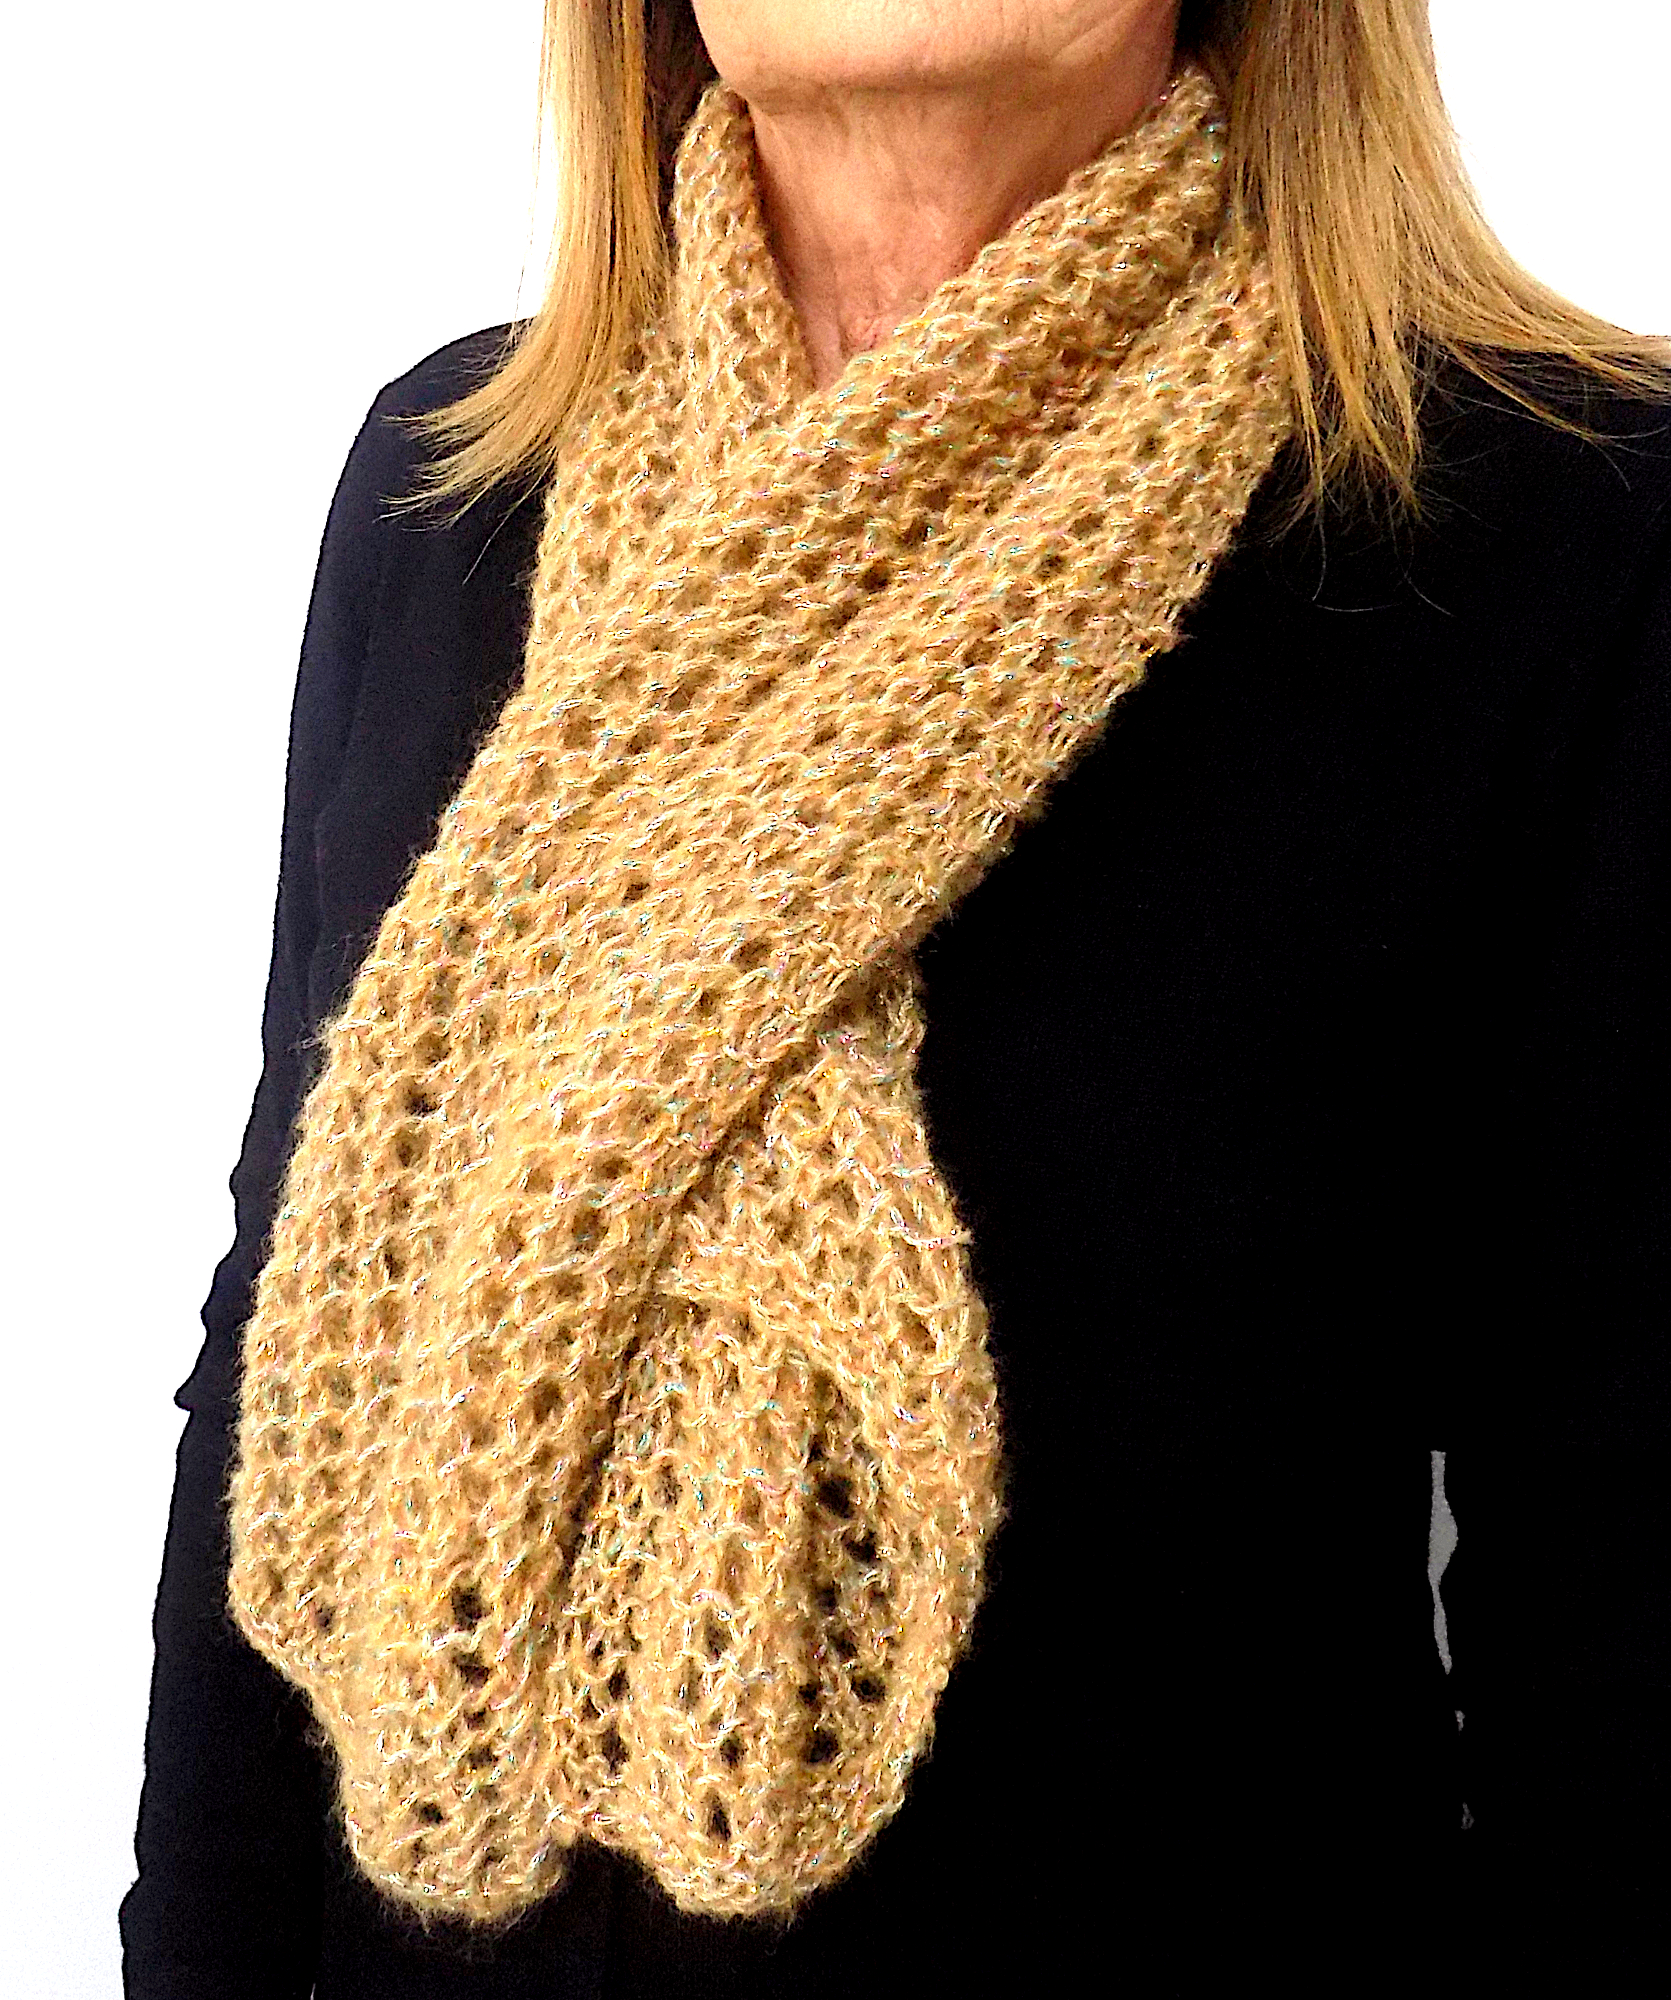
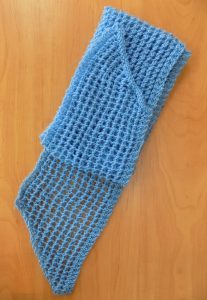 Once the new year starts, we all start to evaluate just how much fabric and yarn we have stashed around our house. This scarf is the ideal stash buster. Perfect for chilly spring mornings, it has pointed ends, and is nice and quick to knit. You can use any yarn and each scarf will be unique!
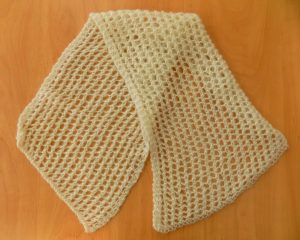 Pattern Row 1: