Coniston Cutting Mat Bag

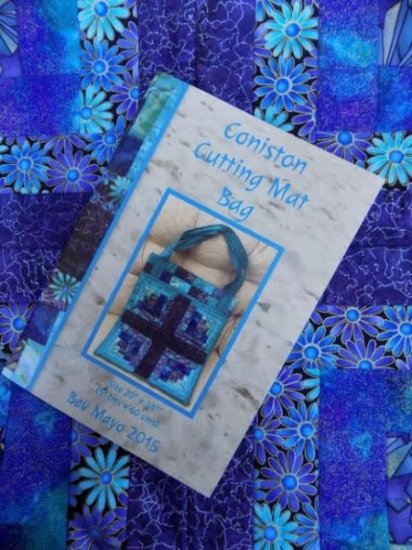
We love Bev Mayo’s handy cutting mat bag, and so do our customers! The log cabin design is easy to master with Bev’s helpful YouTube tutorials, and the padding ensures your cutting mat travels well and is protected. Why not get prepared for when both you and your craft supplies can hit the road again!

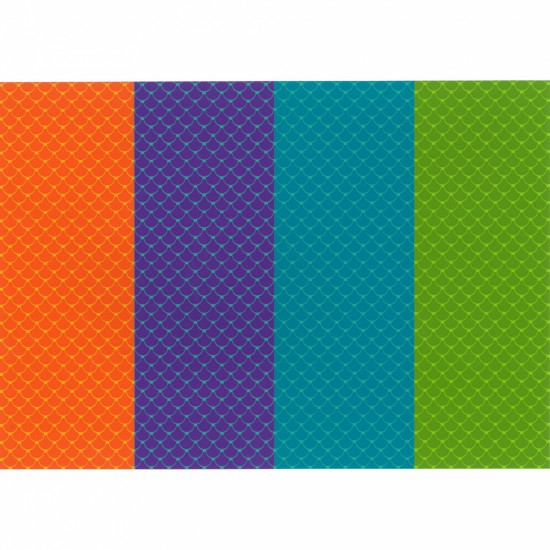
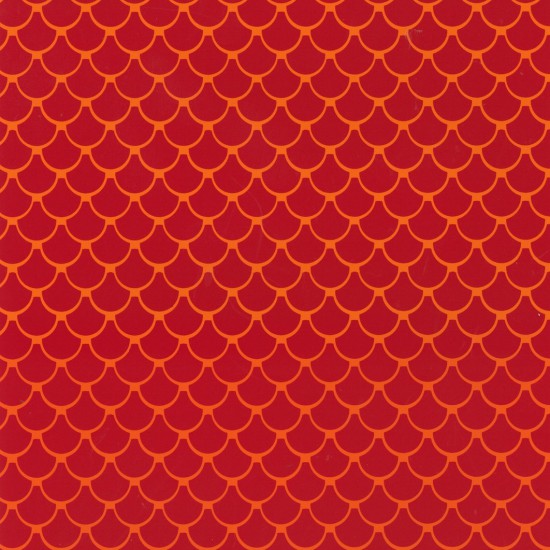
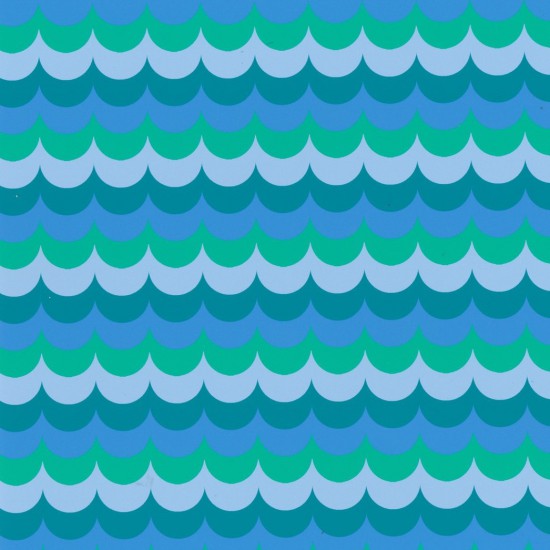
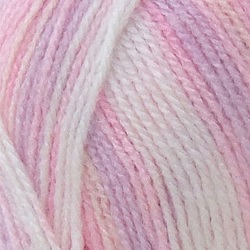
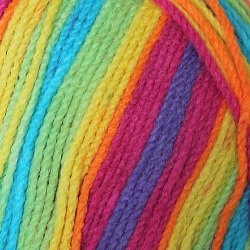
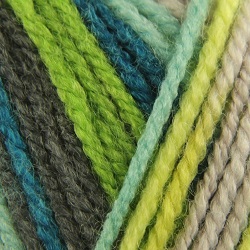
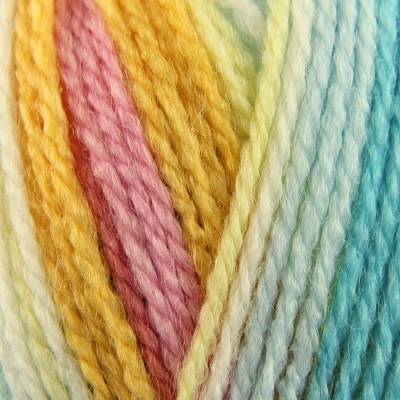
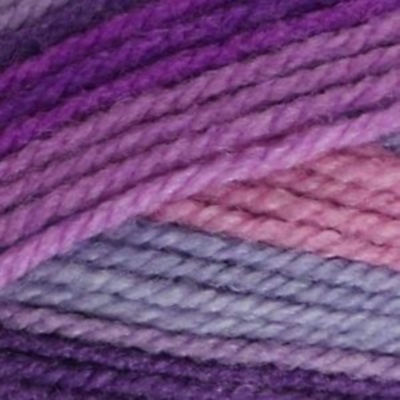
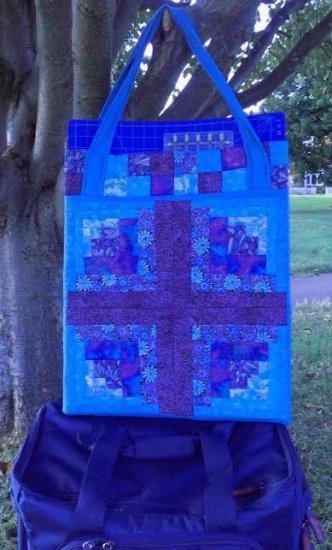
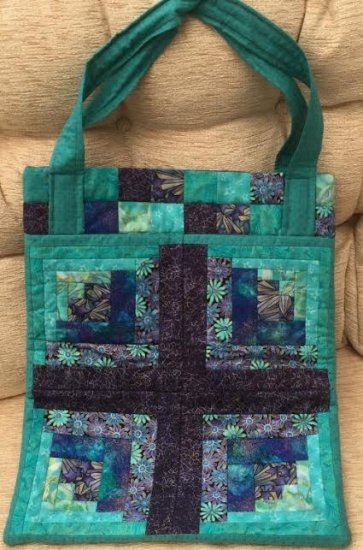
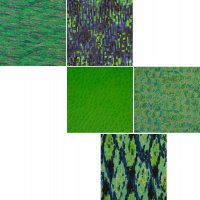
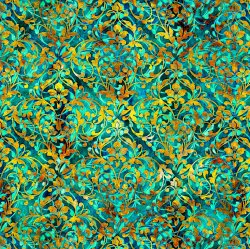
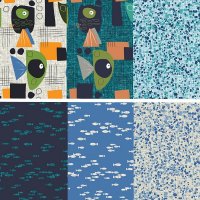
The bag will fit a 24” x 18” cutting mat with the actual size of the bag being 20” x 24” (51cm x 60cm).  There is room to spare for your cutting ruler and other items so creating patchwork on the move is made a little easier, and you can easily store all your tools together.  The log cabin pattern (and the rest of the bag) is made from four light tone and four dark tone fabrics. You can use your favourite colour scheme – purple and teal are very popular choices. This is also the perfect project to use up your scraps.

Here’s what you’ll need:

25cm of three light tone fabrics

1m of another light tone fabric

25cm of two dark toned fabrics

50cm of two more dark toned fabrics

2 pieces of calico (25″ x 21″)

2 pieces of wadding (25″ x 21″)

2 small pieces of wadding (2″ x 37″)

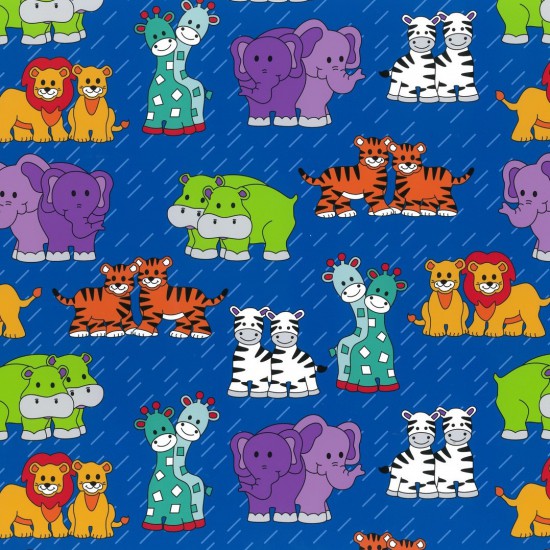
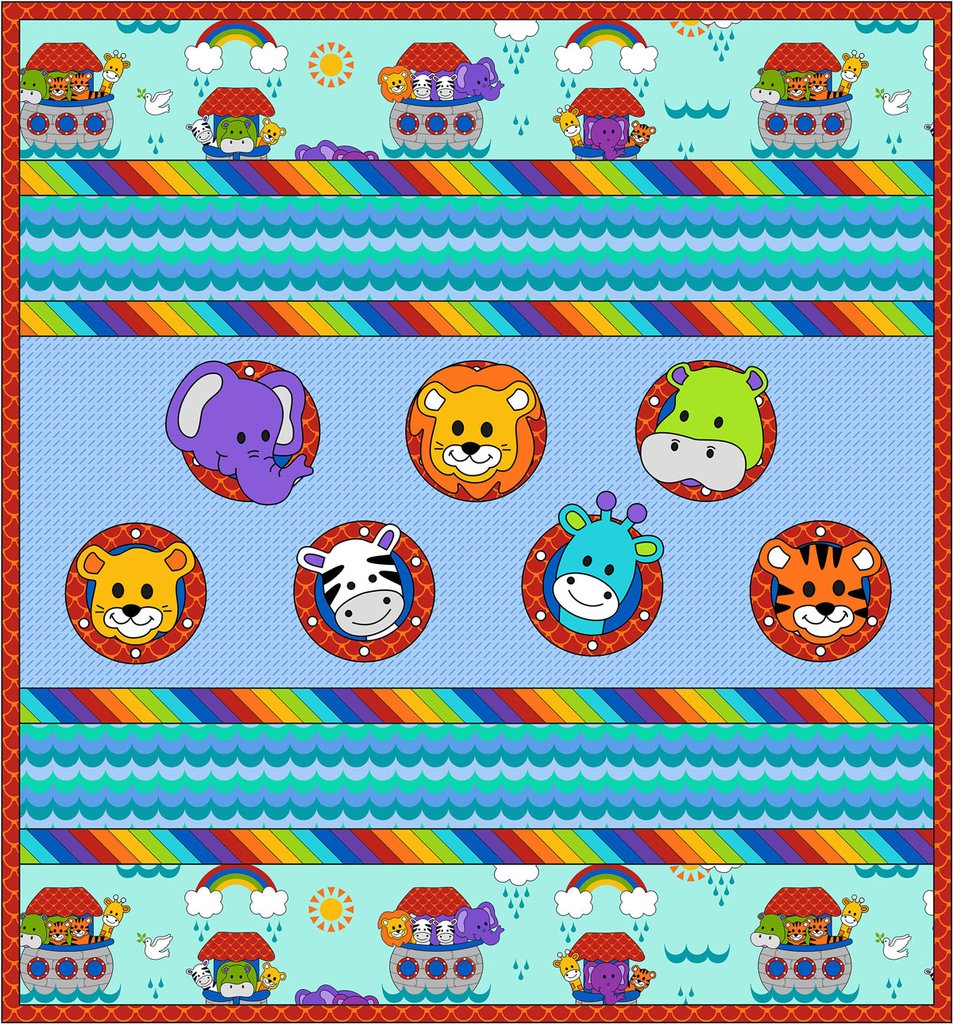
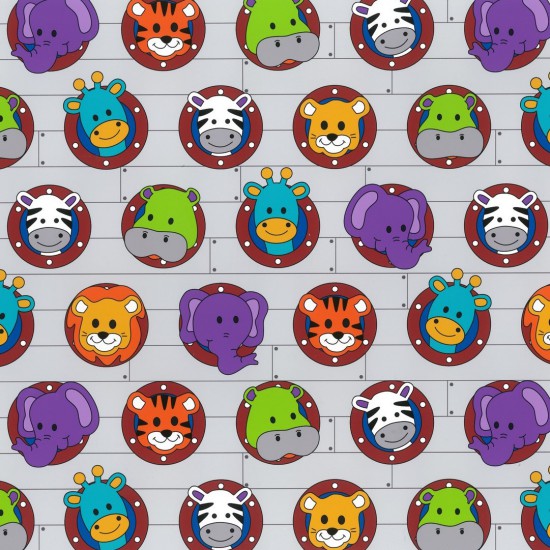
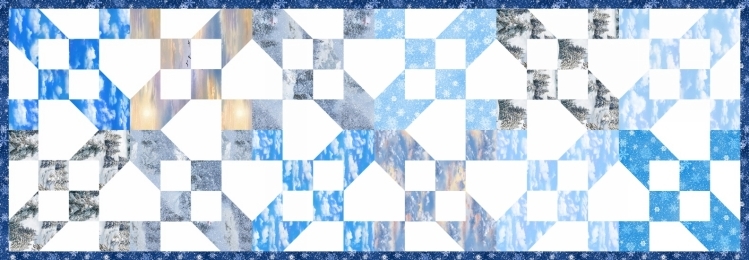
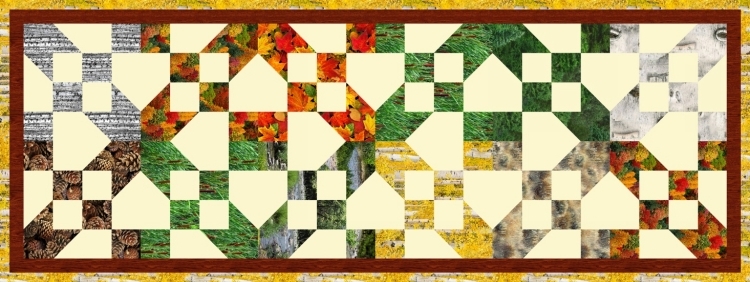
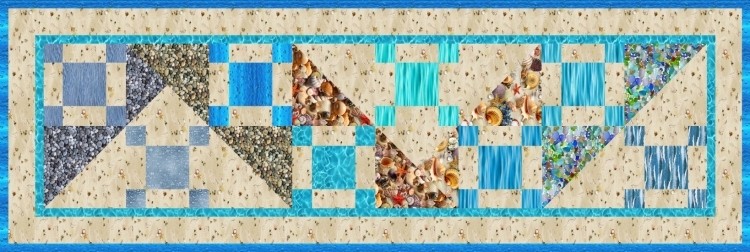
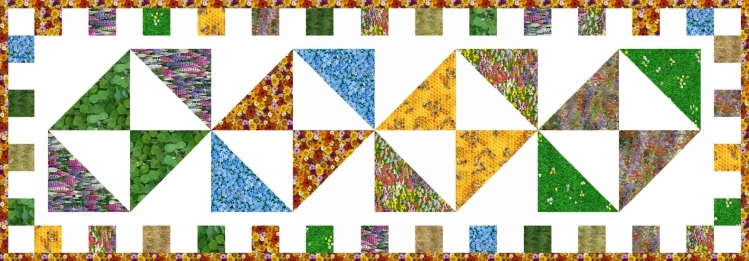
These are some of our collections that have been used to create this bag by our customers –

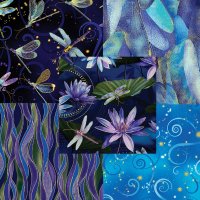
plus our range of Jospehine Wall fabrics would work look amazing 😀

Don’t forget to watch the three tutorial videos that accompany this pattern, especially if there are any techniques that you haven’t practised before. You can find all three below. Happy Crafting!

Star Buys 25th Feb – 9th March

The weather here has been so dreary that we can’t help thinking of Noah’s Ark. Nutex’s Little Noah collection of fabric and patterns has been very popular over the last few weeks, so we can’t be the only ones! As the drizzle continues, we’ve decided to take 10% off the whole collection, and we’ve thrown in a few other animal themed goodies too.

There are some delightful quilt patterns from Kid’s Quilts designed especially for this fabric – also with 10% off.

Plus we’ve also taken 10% off Kerry Lord’s amazing Edward’s Menagerie. Crochet your own Noah’s Ark with 40 unique animal patterns.

And we’ve also discounted Stylecraft’s Wondersoft Merry Go Round. 100% premium self-striping acrylic available in both brights and pastels. Only £3.60 per 100g and just perfect for baby and toddler knitting patterns.

You can find all of our current Star Buy offers here

Offer valid till midnight on Monday 2nd March 2020. Subject to stock availability.

My Darn Socks – a quick tutorial

I’m on a mission to improve my ‘make do and mend’ skills, primarily because I have some really lovely bamboo socks and also some yoga toe socks, neither of which are cheap so I have taught myself the diminishing skill of darning and thought you might want to give it a try!

Note: I’ve used contrasting thread to make the process clearer. By matching your thread to your sock the darn will almost vanish. Leftover yarn works well, or you can use stranded cotton for thinner socks.

Get a nice long darning needle – a mixed pack is good for different thread thicknesses and lengths. Stretch your sock over a darning mushroom to help get your tension right and make a circle of running stitches around the worn area. Pull in gently but not enough to make puckers around the damaged area. Secure your thread with several stitches on top of each other.

Begin to sew large ladder stitches across the hole to form the warp threads.

Turn back and add a further warp thread between every one of the gaps created earlier. Secure your thread. This is where I changed colour – if you want an interesting darn or find it easier to learn with two colours then change colour now.

Starting at the top of the warp threads, begin to weave across the weft threads. Go over one thread and under the next until you reach the other side. Make a small stitch at the end in line with your running stitches. Work back across the threads in the opposite direction, reversing the over and under weave. Continue in this way, pulling the threads reasonably taut across the mushroom as you go.

Gently push your weft threads to the top as you work so you can fill as much available space with thread for a good dense fabric. When you’ve completely filled your darned area then secure your thread. Work it through on the reverse of your fabric before trimming it off.

by Purple Boots

Elizabeth’s Studio Glorious Landscapes

Elizabeth’s Studio have some amazing digital print landscape fabrics – I’m sure you all have at least one fat quarter stashed away somewhere! 😂 😉

How about gathering up all those leftover landscapes and trying one of the free table runner patterns designed especially for this collection from the Elizabeth’s Studio extensive project gallery? I particularly like the summer version below, it really makes me want to hide from this cold weather somewhere more exotic.

Check out the other variations and details on the Elizabeth Studio website

You can purchase even more glorious landscapes to complete your project here

New Products For January

Amazing new products on our website for January, including DMC kits, Prym haberdashery, and the now classic book ‘Edward’s Menagerie’ by Kerry Lord.

4 wonderful kits added to our huge selection – blackwork butterfly, poppy Flower Fairy, The Kiss, and the whimsical ‘You Make My Heart Smile’

Find all our DMC kits here

Everyone still seems to be slightly bee crazy, so we’ve added two new applique trims – cheerful Bumblebees and stylish gold Honey Bees.

All our trim

The cute animals in Edward’s Menagerie are made using simple crochet techniques and the step-by-step instructions enable a complete beginner to get hooking straight away. Each animal also has a universal pattern where you can change your hook and yarn to create four different sizes, making 160 different animal possibilities.

Purchase a copy

And don’t forget our large selection of ever-growing quality Prym haberdashery!