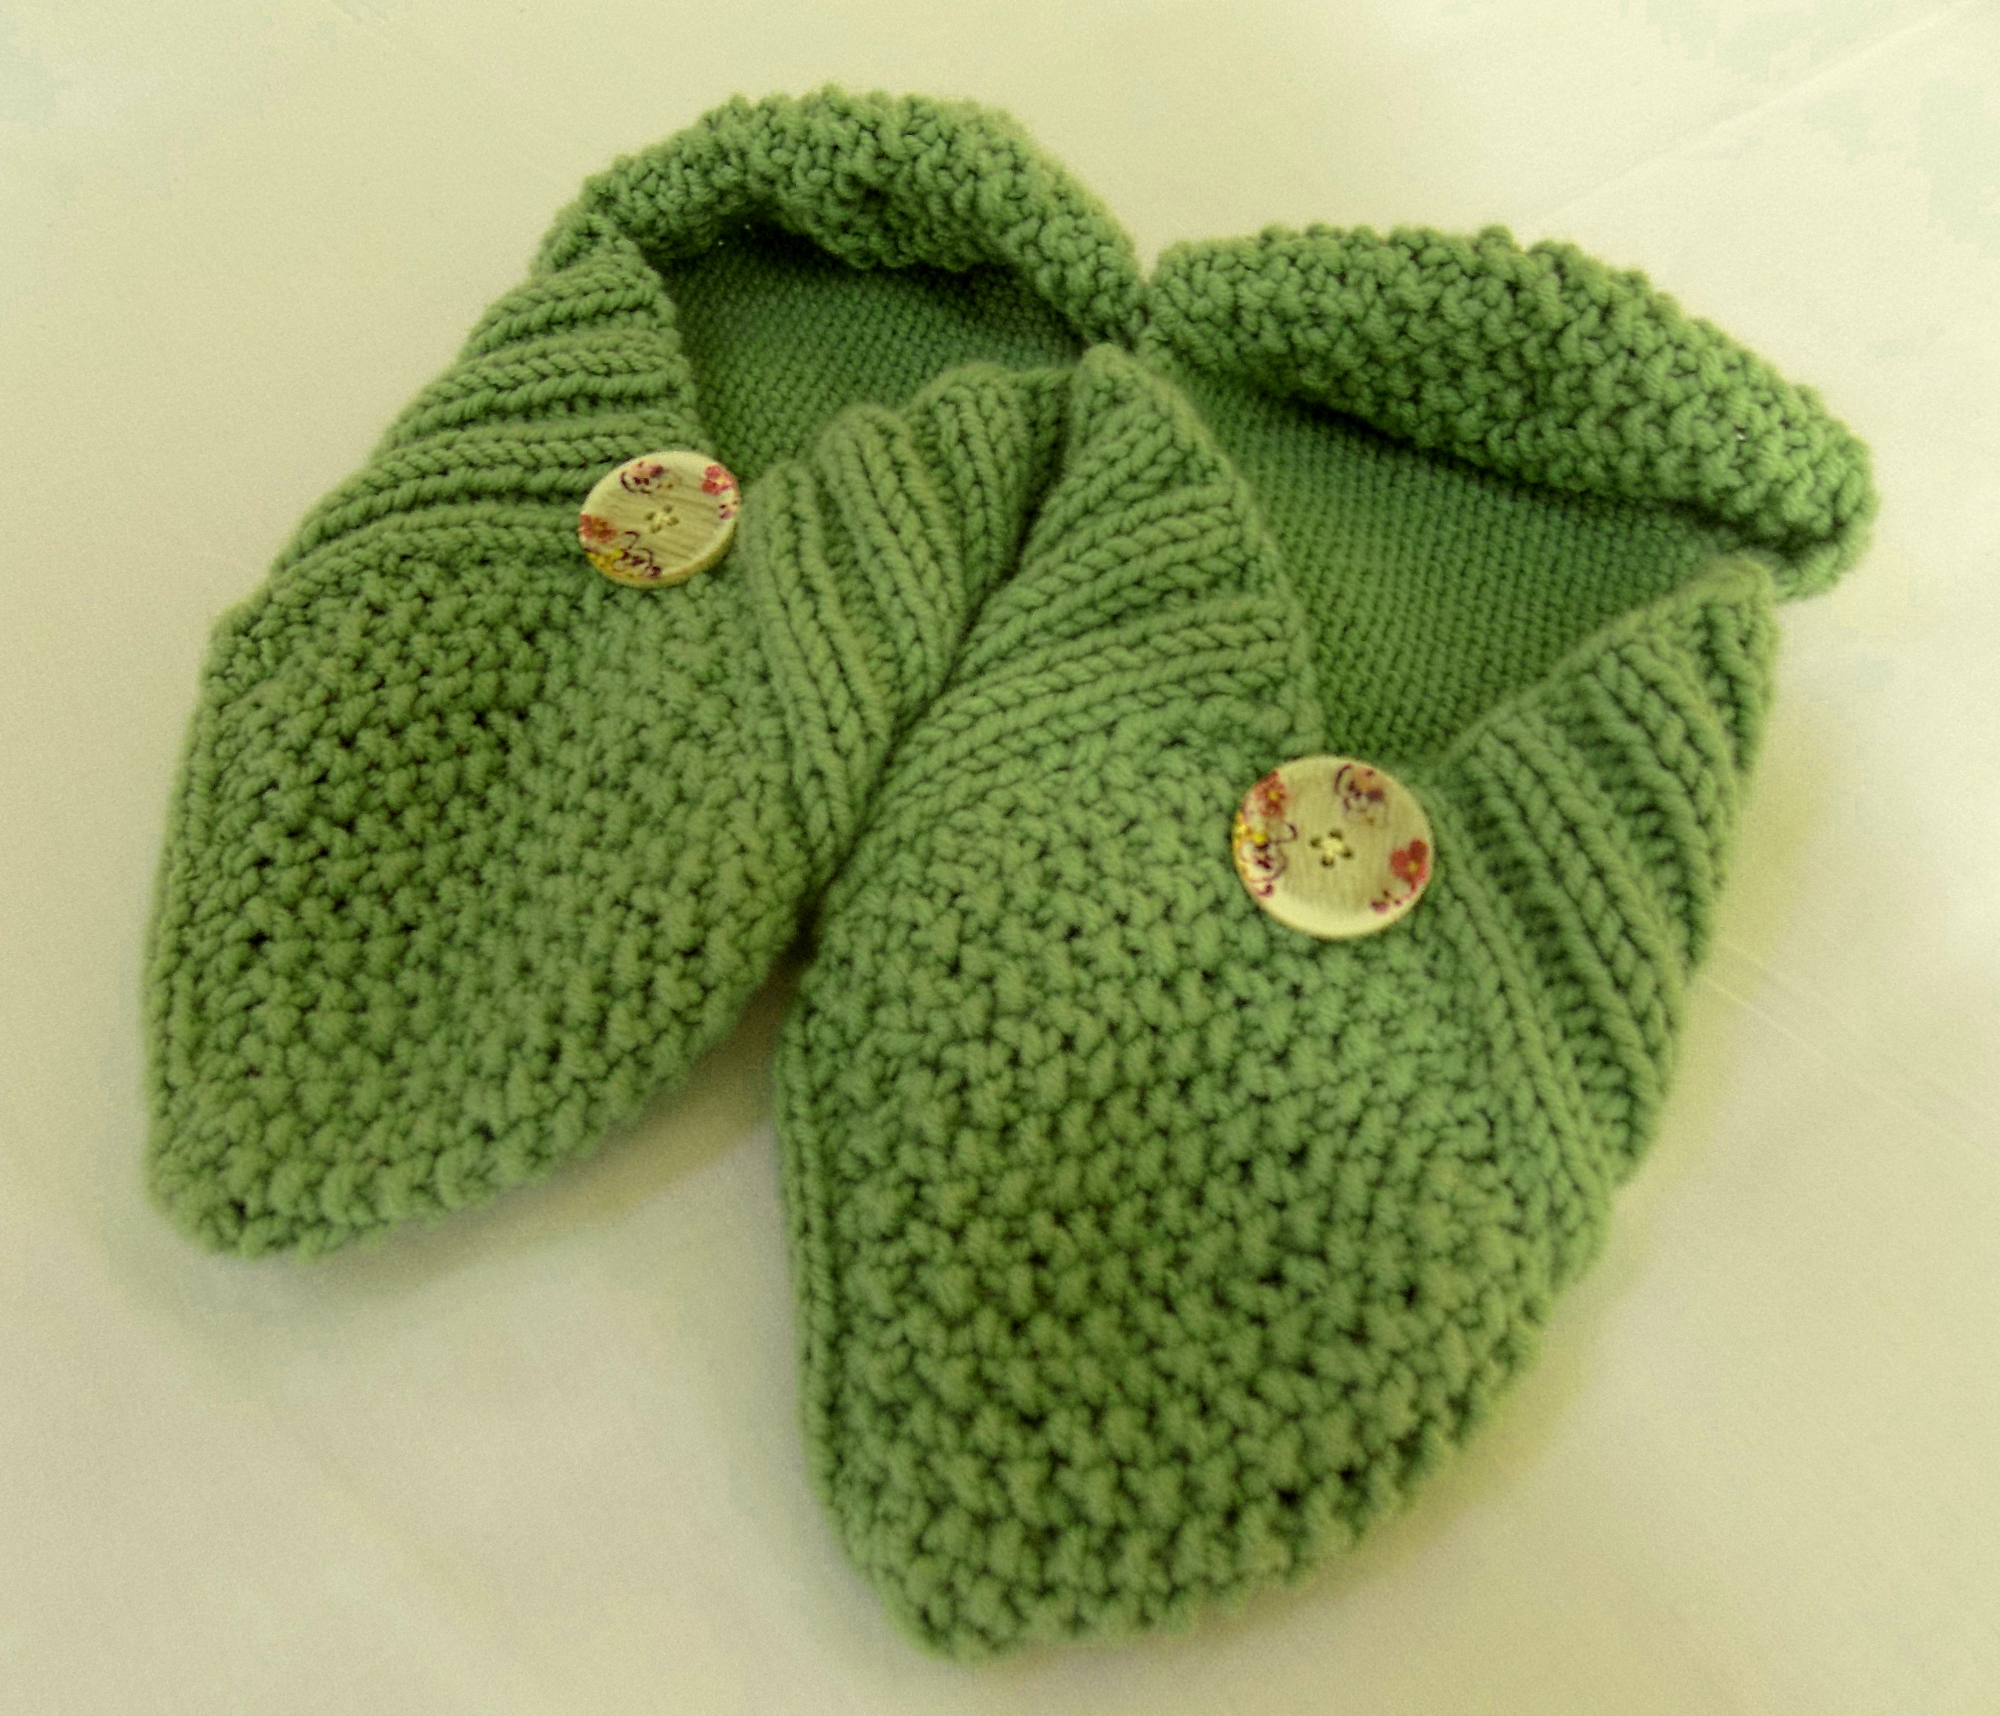
A delightful design – these slippers are easy to make. They fit your feet snuggly and best of all, they are very portable. Just fold them up and take them on holidays.
Materials:
3.75mm needles
100g of any double knit yarn.
Suggested yarns:
Stylecraft Life DK 100g – 75% acrylic & 25% wool
Stylecraft Highland Heathers – 100% acrylic
Adriafil WoCa – 70% wool & 30% hemp
Adriafil Knitcol 50g – 100% merino wool
Sizing:
The sizing of the slippers is altered depending on how many stitches you cast on and how many rows you work for each square.
Ladies Size 4 Each square should measure 3”. Cast on 16 stitches and work 19 rows
Ladies Size 5 Each square should measure 3 ¼”. Cast on 18 stitches and work 22 rows
Ladies Size 6-7 Each square should measure 3 ½”. Cast on 19 stitches and work 26 rows
Stocking Stitch Square (make 4)
Cast on according to size.
1st row: knit
2nd row: purl
Repeat until you have completed the correct number of rows for your size.
Rib Stitch Square (make 4)
Cast on according to size.
1st row: K1, P1 to end of the row
2nd row: P1, K1 to of the row
(Each row starts with the same type of stitch as the last row ends on)
Repeat until you have completed the correct number of rows for your size.
Moss Stitch Square (make 4):
Using the same technique that helps form the rib stitch, you can knit this striking effect. Moss stitch is essentially a 1×1 rib stitch.
Cast on according to size.
1st row: K1, P1 to the end of the row
2nd row: P1, K1 to the end of the row
(Each row starts with the opposite type of stitch as the last row ends on)
Repeat until you have completed the correct number of rows for your size.
Making up:
Step one:
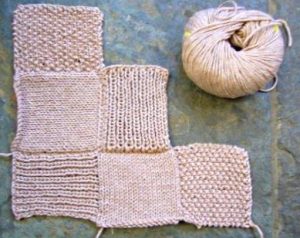
Take 2 of each square to form each slipper, and sew together as in the photo. Two stocking stitch squares form part of the slipper base. Two ribbed squares form the base and sides. Two moss stitch squares form the heel and front of your slippers.
Make sure that you sew in the ribbed squares exactly as the picture shows so that the cast off edges form part of the opening of the slipper.
Step two:
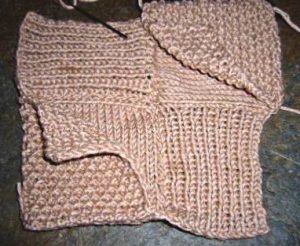
Take the two moss stitch squares and sew to the edges of the stocking stitch squares as shown. You have now formed the heel and the toe. Now take one of the moss stitch squares only. This will form the front of your slipper. Sew up a third edge to the side edge of the ribbed square. Now sew up the fourth edge to the edge of the other ribbed square.
Finishing – To edge your slipper, crochet a chain around the opening of the slipper, or make an i-cord and sew around the opening.
I-Cord:
Step 1: Cast on a few stitches. I-Cord is usually made using 3-5 stitches.
Step 2: Knit one row
Step 3: Do not turn the work, just slip your work to the other end of your double
pointed needle. Your working yarn will be at the “wrong” end of your work.
Step 4: Pull the working yarn tightly along the back of your work and knit the
next row.
Step 5: Repeat steps 3 and 4 until you have an I-Cord that will fit around the slipper opening with a slight stretch. Sew in place.
Decorate with buttons as we have done or embroidery, beads, ribbon. There are endless possibilities.
