We have managed to configure the website to collect the duty required on US orders, so our American friends can continue to order from us. All US orders will now be sent with tracking, just in case customs decide to hold on to it. Then at least we can tell you were it has got stuck. We’re very pleased that we’ve managed to navigate yet another overseas sales nightmare, and hope that you will continue to buy from us confidently.
Halloween Fabrics and a FREE pattern
It may be July, but if you’re planning Halloween crafts then now is the time to make a start. Then maybe you may have finished by *next* Halloween!
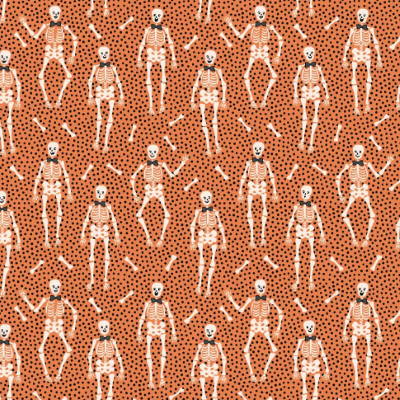
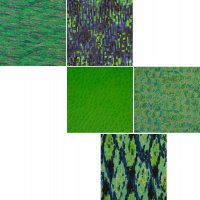
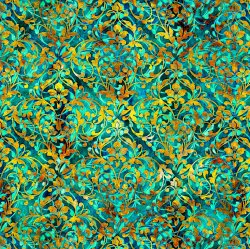
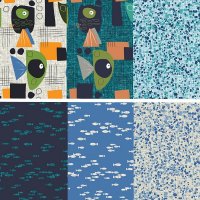
We’ve got some spooky new Halloween fabrics in stock, as well as a limited quantity of leftovers from last year. Plus this year we have stocked up on ribbon and buttons too. You can take a look at all our Halloween goodies here: https://www.tudorrosepatchwork.co.uk/all/halloween
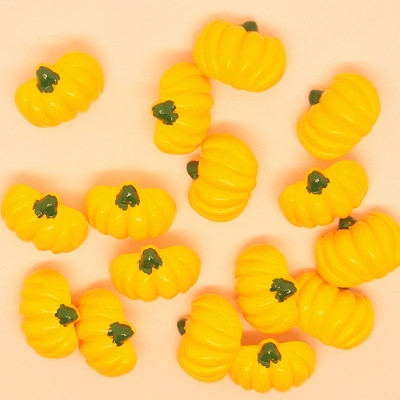
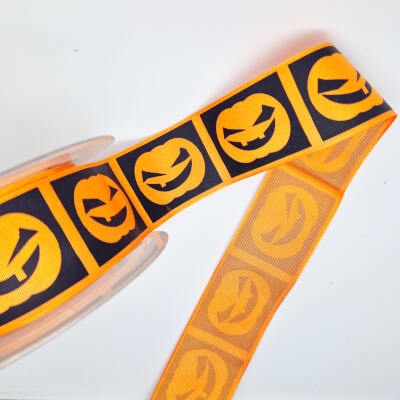
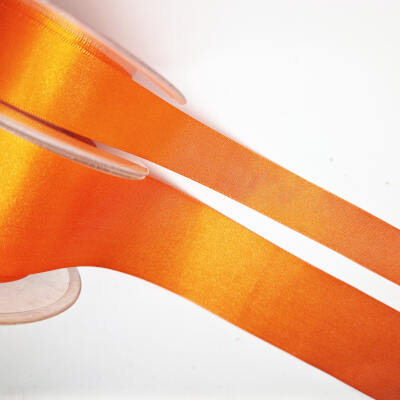
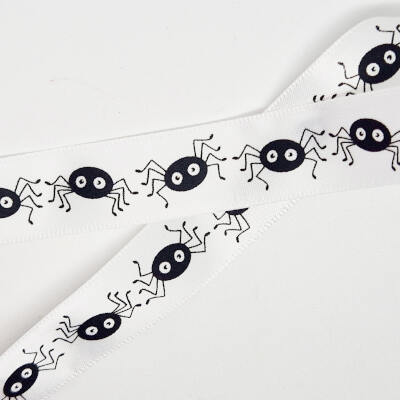
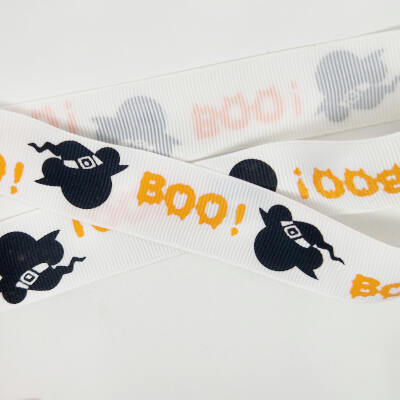
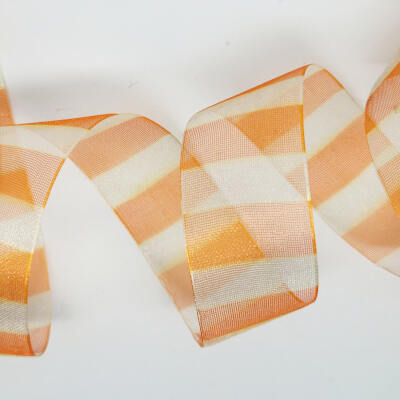
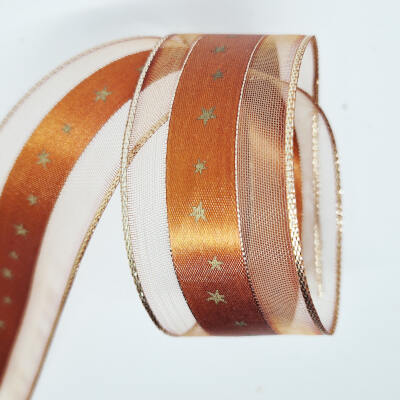
There is also a new old pattern available for free . It’s a pattern that was designed several years ago by our dear friend Christine. It’s had a little revamp and is a great project to use up some scraps and introduce children to patchwork and sewing.
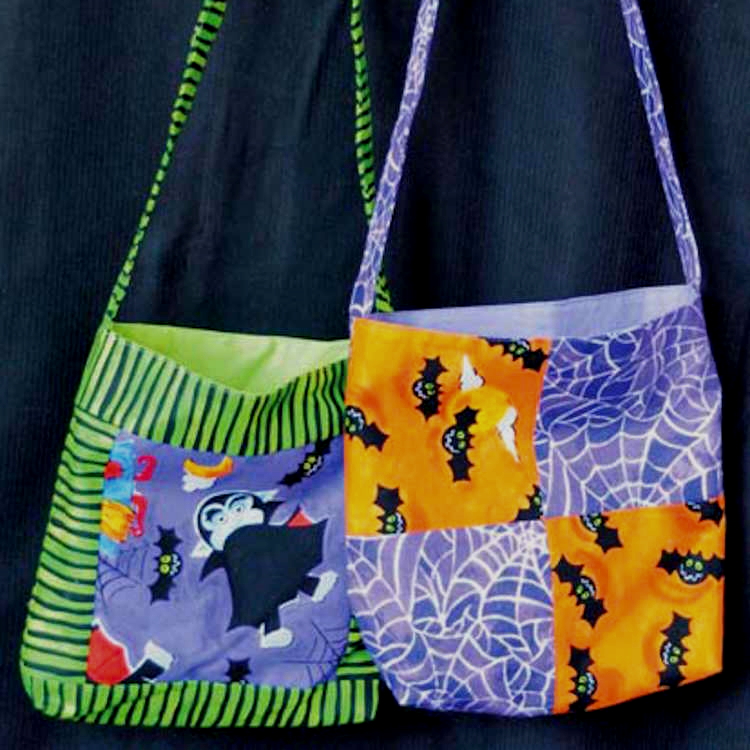
Have quick peek at all things Halloween x
Folk Flora from 3 Wishes
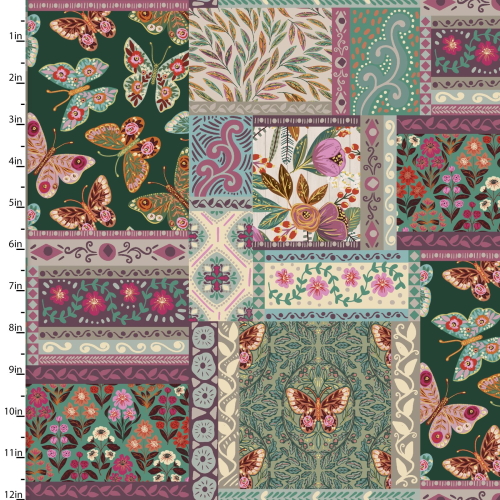
Designed by Caroline Alfreds for 3 Wishes, this new quality fabric is a must for making beautiful quilts and home décor accessories. Featuring a whimsical patchwork of folk fabrics with flowers and butterflies in deep greens and vibrant pinks it is just perfect for patchwork and quilting, tops and t-shirts requiring some structure, accessories and home decor.
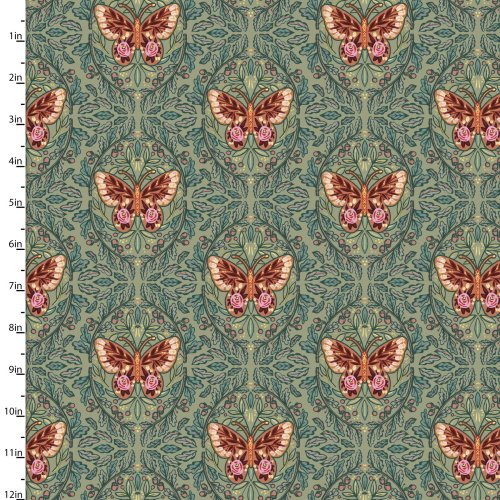
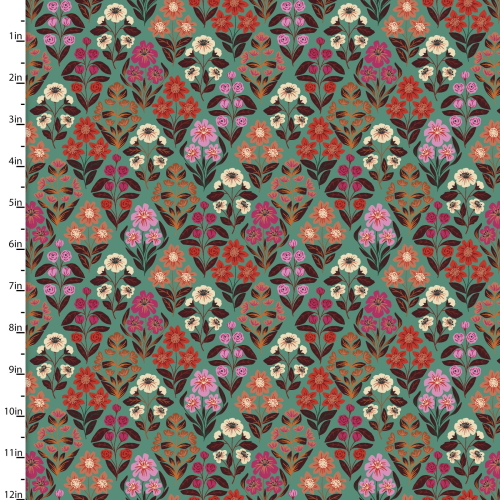
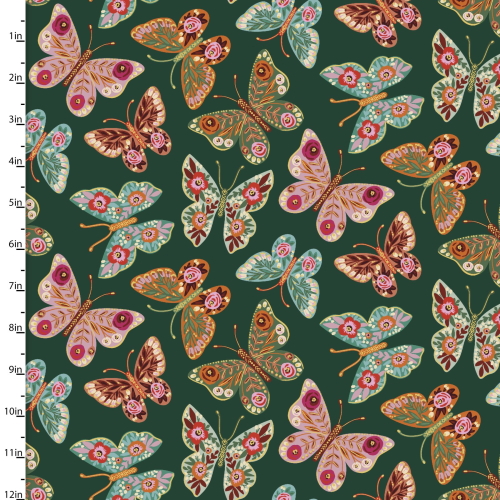
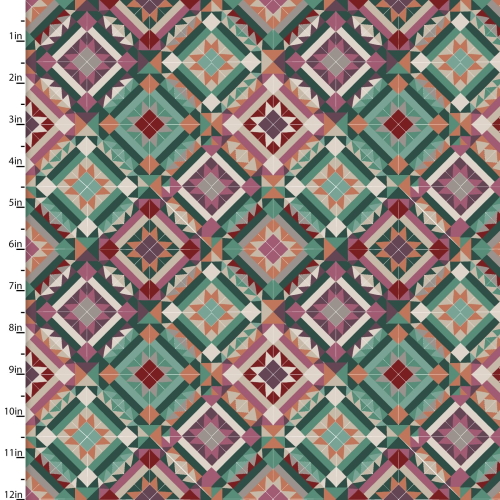
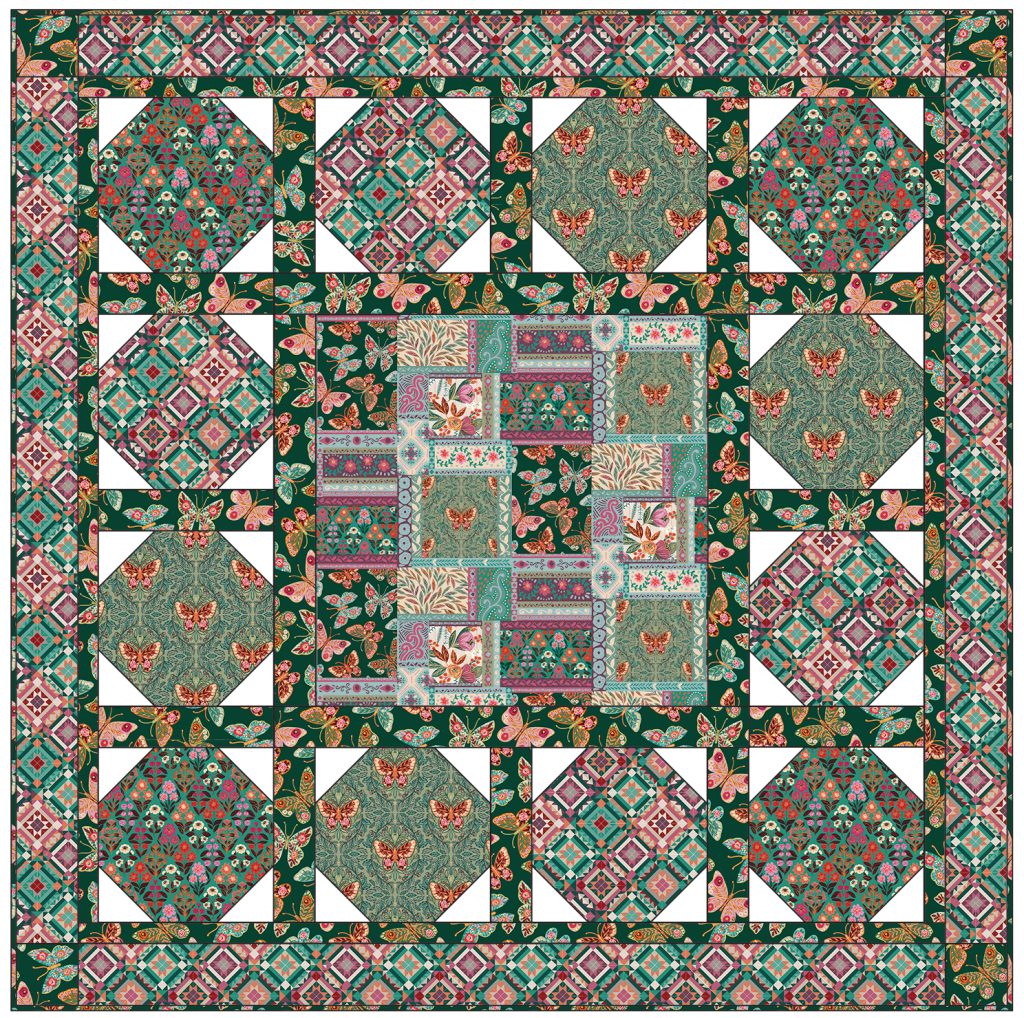
Plus you can download a FREE quilt pattern using this collection on the 3 Wishes website!
Remembrance Fabrics
We have a wide selection of fabrics suitable for Military Remembrance projects. Whether you prefer poppies or planes, take a look at some of our collection.
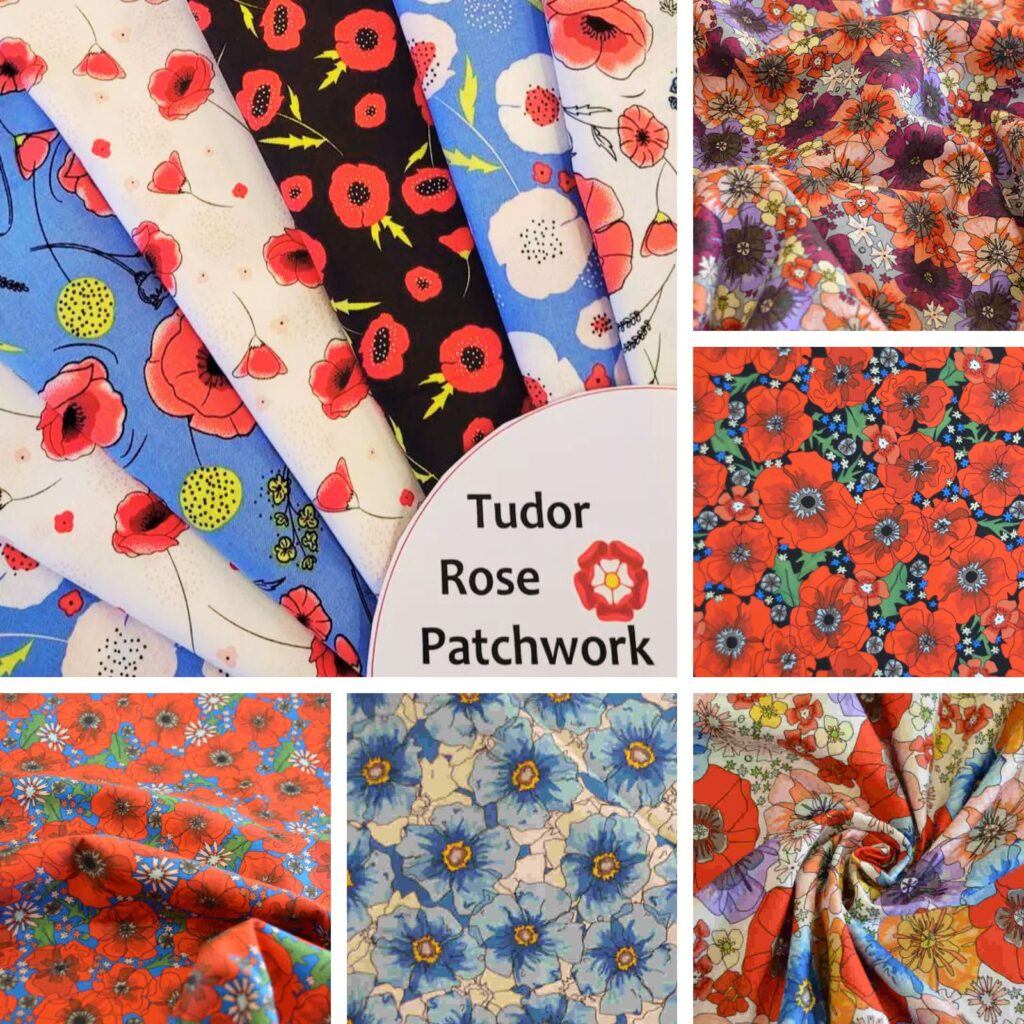
We have a wide selection of cotton poppies material, ranging from wonderfully colourful to the more traditional red on black. These are great for making structured tops for remembrance services, or fussy cutting and layering to make individual poppies.
A Field of Memories by local designer The Crafty Lass can be viewed here
Plus we have a small amount left of Poppy Fields from the Craft Cotton Co. here
If you’re looking to make some themed items for the gentleman in your life, or perhaps would just like a striking bag or cushion, then these vintage planes from the Remembering collection from Nutex may be more to your taste.
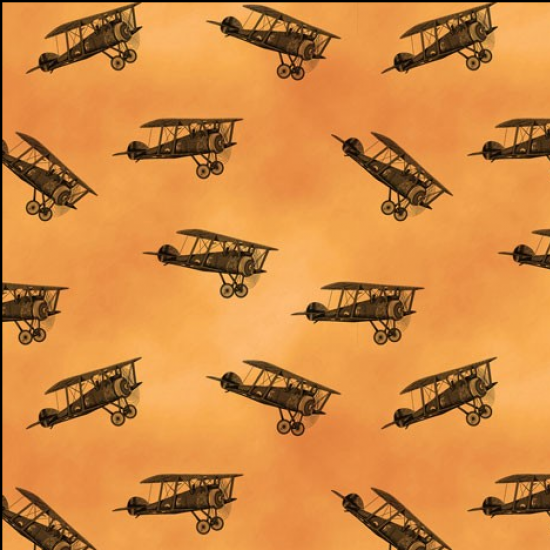

The oranges of dawn and sunset are so eye-catching, and a wonderful way to honour anyone you love who is associated with the RAF, or who loves historic airplanes.
Fun Ways To Celebrate National Embroidery Month
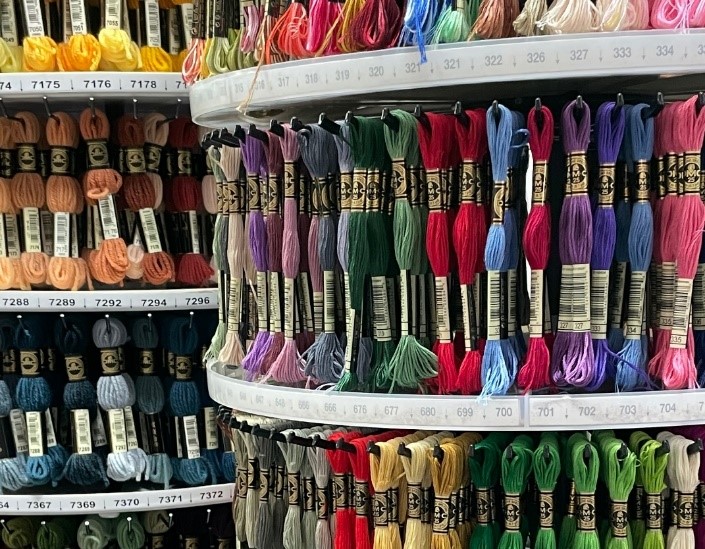
February is recognised for different things, Valentines Day, Black History Month or if you’re into food, Nutella Day (the 5th if you’re interested). However, did you know, it’s also National Embroidery Month?
So just for fun, here are 20 ideas to help you celebrate National Embroidery Month!
1. Work in Progress: Select one embroidery project that you have in progress and finish it by the end of the month.
2. What about trying stitching on something other than fabric – have a go on paper.
3. Re-organise all your threads, needles and notions.
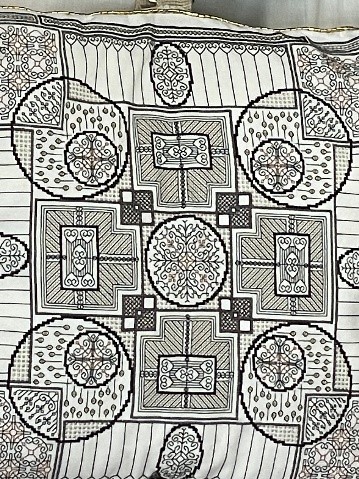
4. Make something new with your embroidery, if you normally frame your work, what about stitching on a pillow or tote bag.
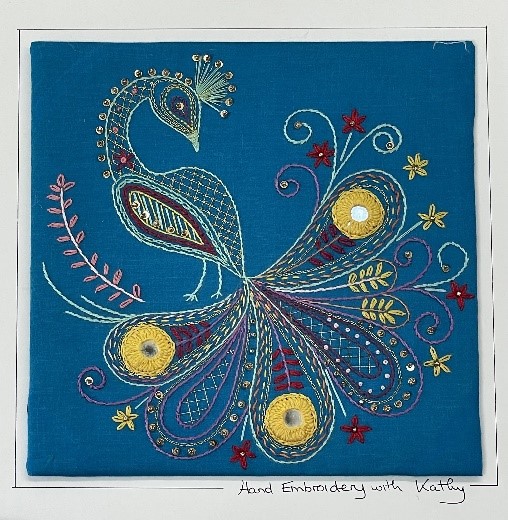
5. Treat yourself. Buy a new tool you’ve been wanting. A new pair of scissors or needle minder. The Hemline Gold range is created with environmental consciousness in mind. No plastic and fully recyclable packaging.
6. Set yourself a time just for you to stitch. Don’t be distracted. Make it a quiet moment for you. Listen to your favourite music, have a glass of your favourite tipple.
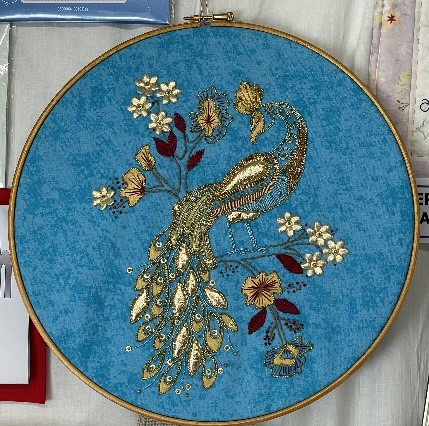
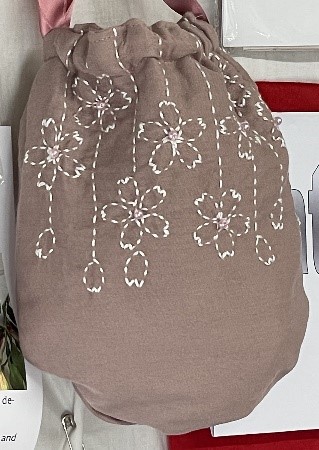
9. Invest in a sit-on embroidery frame – perfect to free up your hands.
10. Maybe present your work in a different way. If you always display your stitchery in a hoop, maybe frame it or stretch it over a canvas frame.
11. Have a go with different threads, have a go with silk ribbons or tapestry wool.
12. Embellish a garment or bag. Or cover a stain or tear.
13. Enhance a project with sequins, beads or crystals.
14. If you have time, what about setting yourself a challenge – stitch a new project each month.
15. Join an embroidery class. Learn new stitches and meet new people.
16. Have a crafting evening at home and invite over a few friends for a get together.
17. Create an embroidered gift for someone.
18. If you’re travelling, carry a small project with you and have the pleasure of stitching anywhere.
19. Experiment turning your work into mixed media by adding painted details to your project.
20. Choose a new pattern to stitch from our shop.
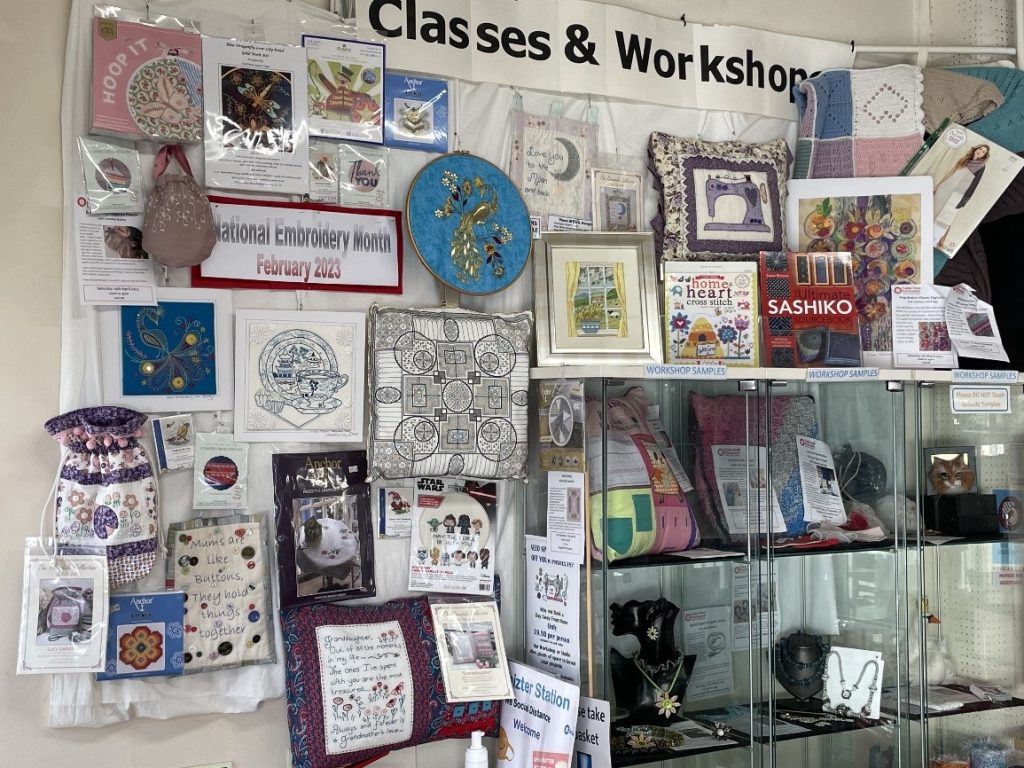
Finally, come and visit us in store, admire our display celebrating National Embroidery Month. Find a new kit or even a new skill and have a go!
Stitching on a New Medium
Ever considered stitching onto something other than fabric? What about stitching on card? In fact, you could stitch onto anything that you can make holes in – plastic, wood, even metal.
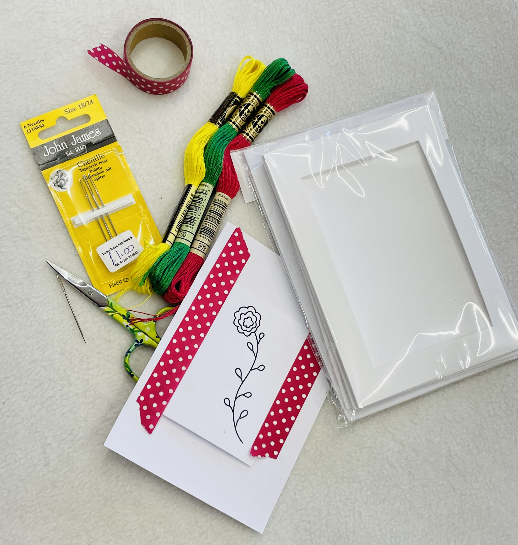
You will need:
- Your design drawn or printed on paper.
- A Sharp needle
- Card in your choice of colour, 190gsm is ideal. Thicker card is more difficult to pierce holes in, paper is too thin,
- Scissors
- DMC Floss
- Craft or Masking tape
- Pencil and rubber (optional)
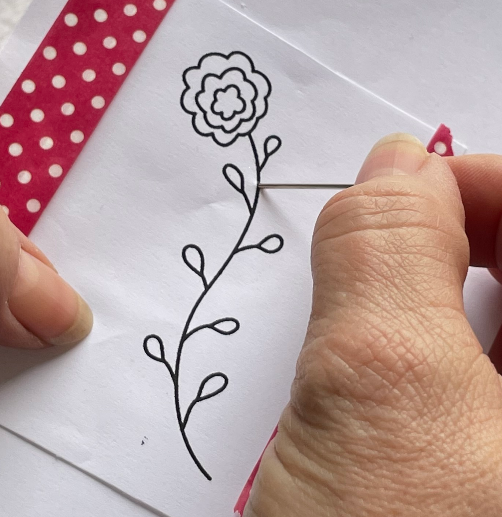
Step 1: Stick your design onto your card with masking tape.
Step 2: Use the sharp needle to pierce holes evenly along the lines of the design. Don’t get them too close together or the card may rip when you’re stitching and of course, keep your finger’s out of the way.
Alternatively, you could draw your design onto the card with a pencil, pierce the holes then rub out your pencil lines.
Step 3: Thread your needle and sew. Don’t pull your thread to tightly as the card may rip.
Use evenly spaced running stitch for lettering from start to finish and then back again to fill in the gaps.
Send your creation in a card mount as a birthday card or as a gift tag. Even pop it in a frame.
Special Offers from 7 Dec
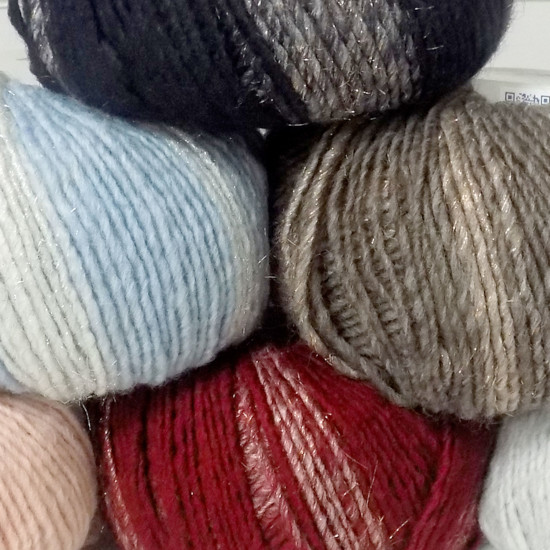
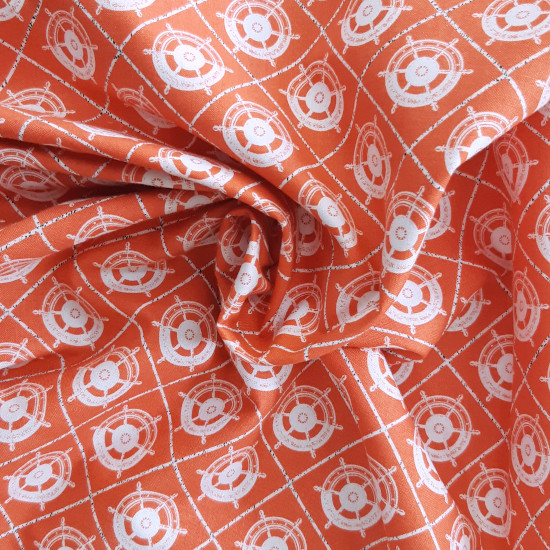
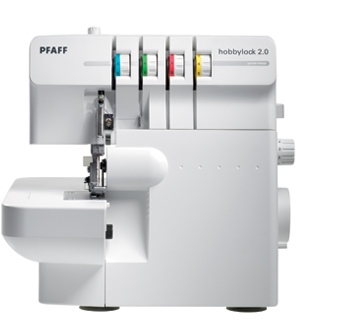
All these items up to 63% off until Tuesday 20 December 2022!!
Yarn
Fabric
Even More Bargains!
Dressmaking: A beginner’s guide to patterns.
A sewing pattern is the place for a beginner to dressmaking to make a start. As well as an envelope containing pattern pieces and instructions there is the envelope itself which is full of information. Not all pattern envelopes are laid out in the same way but the information provided is the same. To be successful as a dressmaker you need to understand the pattern.
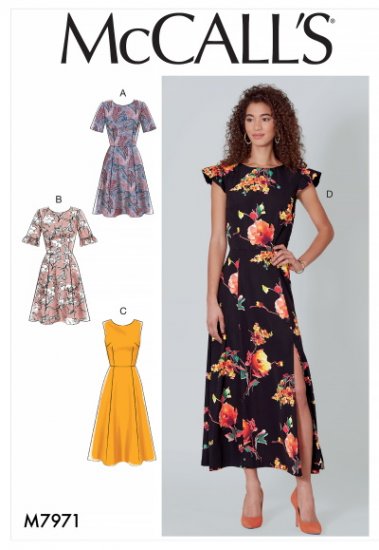
The back of the envelope shows two measurements: body measurements and sizes for the finished garment. You will find fabric recommendations and the amount of fabric you will need for the different sizes. In addition, there will be drawings of the variations of the garment, sometimes called technical images or line art. You will also see a list of the notions or haberdashery you will need ie zips, interfacing etc. The information may also be provided in French or Spanish alongside the English.
Most patterns give you a guide as to how difficult the pattern will be. Easy/Intermediate/Complex. If you’re a complete beginner, try an easy pattern to start with. Some manufacturers have “learn to sew” patterns created with a complete beginner in mind, full of tips and advice.
Fabric & Notions
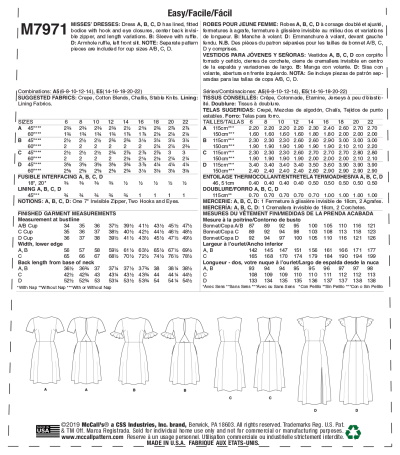
Recommended Fabric For you to make the garment and achieve the intended look follow the recommended fabrics. A flowy skirt or fitted jacket would look wrong in t-shirt jersey. As a beginner it is important to follow the advice from the designer. You don’t want to spend hours creating your garment to be unhappy with the finish because of the fabric you’ve chosen. You may also need a lining fabric and contrasting fabrics.
If you’re unsure, have a chat to any of our staff who’ll be very happy to help. Visit our website here to see a small selection of what we offer.
Fabric Requirements This tells you the amount of fabric you’ll need based on your chosen size and the width of the fabric you are buying. Always buy the amount advised – you don’t want to run out if you make a mistake. Most dressmaking fabrics come on rolls or bolts in 2 approximate widths: 110cm/44” and 150cm/60”.
Notions Don’t forget to buy these. This is things like buttons, zips, elastic, trim.
Not mentioned on an envelope but needed are needles and threads appropriate for your chosen fabric. A denim needle will leave visible holes in a chiffon fabric. An extra fine thread will not be appropriate for heavy duty corduroy.
You can see our haberdashery here and needles and thread here.
Drawings
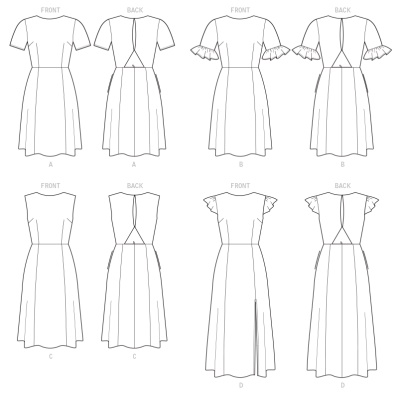
The line art or technical drawings show you the design details that are not always obvious in the photos. You will see the variations of the pattern, for example sleeve options, different necklines or skirt lengths. Things like darts and fastenings are more easily seen in the drawings.
Measurements
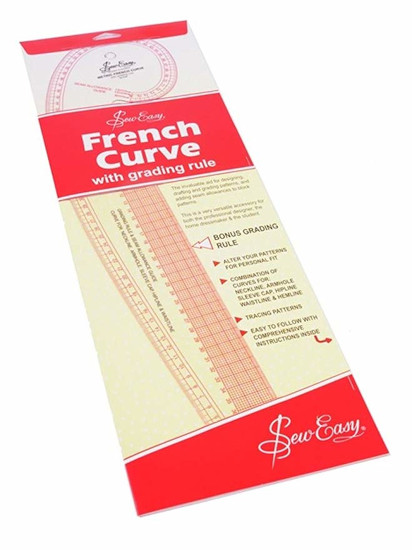
You will see two sets of measurements: the finished garment and your body measurements. Sizes on the high street are not the same as dressmaking sizes. Take your body measurements accurately and then look at the pattern for the size you’re going to make. Many of us fall between sizes. This is completely normal and you will use a pencil and a curve ruler (also called a French curve ruler: click here to visit our website) to draw on your pattern to create a smooth cutting line between to two sizes.
The finished garment measurements are intended to give you an idea of how your garment will fit once finished. These measurements allow you to choose with even greater accuracy the size you’re going to make.
This is where making your own garment allows such flexibility with size and fit.
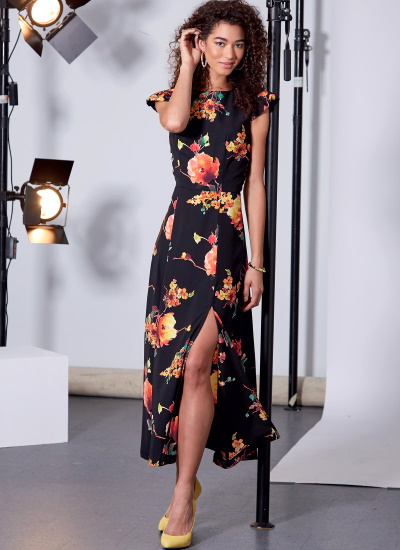
We sell patterns from 3 manufacturers. Visit us in store or our website.
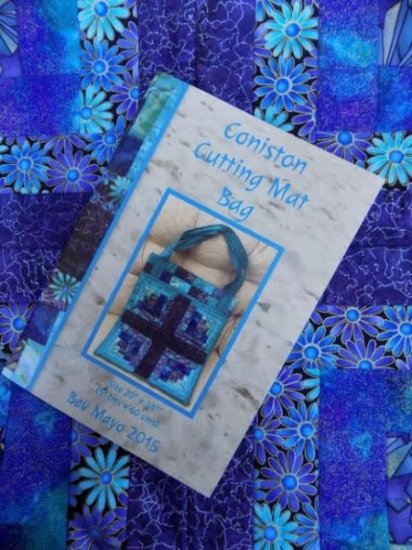
Coniston Cutting Mat Bag
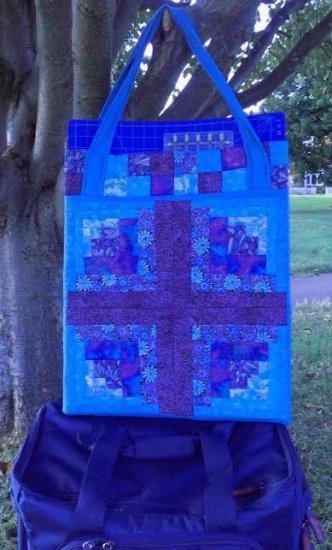
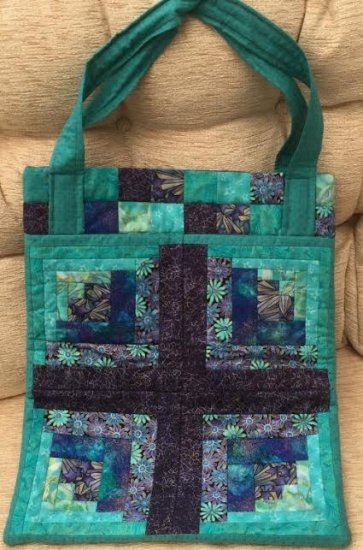
We love Bev Mayo’s handy cutting mat bag, and so do our customers! The log cabin design is easy to master with Bev’s helpful YouTube tutorials, and the padding ensures your cutting mat travels well and is protected. Why not get prepared for when both you and your craft supplies can hit the road again!
The bag will fit a 24” x 18” cutting mat with the actual size of the bag being 20” x 24” (51cm x 60cm). There is room to spare for your cutting ruler and other items so creating patchwork on the move is made a little easier, and you can easily store all your tools together. The log cabin pattern (and the rest of the bag) is made from four light tone and four dark tone fabrics. You can use your favourite colour scheme – purple and teal are very popular choices. This is also the perfect project to use up your scraps.
Here’s what you’ll need:
25cm of three light tone fabrics
1m of another light tone fabric
25cm of two dark toned fabrics
50cm of two more dark toned fabrics
2 pieces of calico (25″ x 21″)
2 pieces of wadding (25″ x 21″)
2 small pieces of wadding (2″ x 37″)
These are some of our collections that have been used to create this bag by our customers –
plus our range of Jospehine Wall fabrics would work look amazing 😀
Don’t forget to watch the three tutorial videos that accompany this pattern, especially if there are any techniques that you haven’t practised before. You can find all three below. Happy Crafting!
Star Buys 25th Feb – 9th March
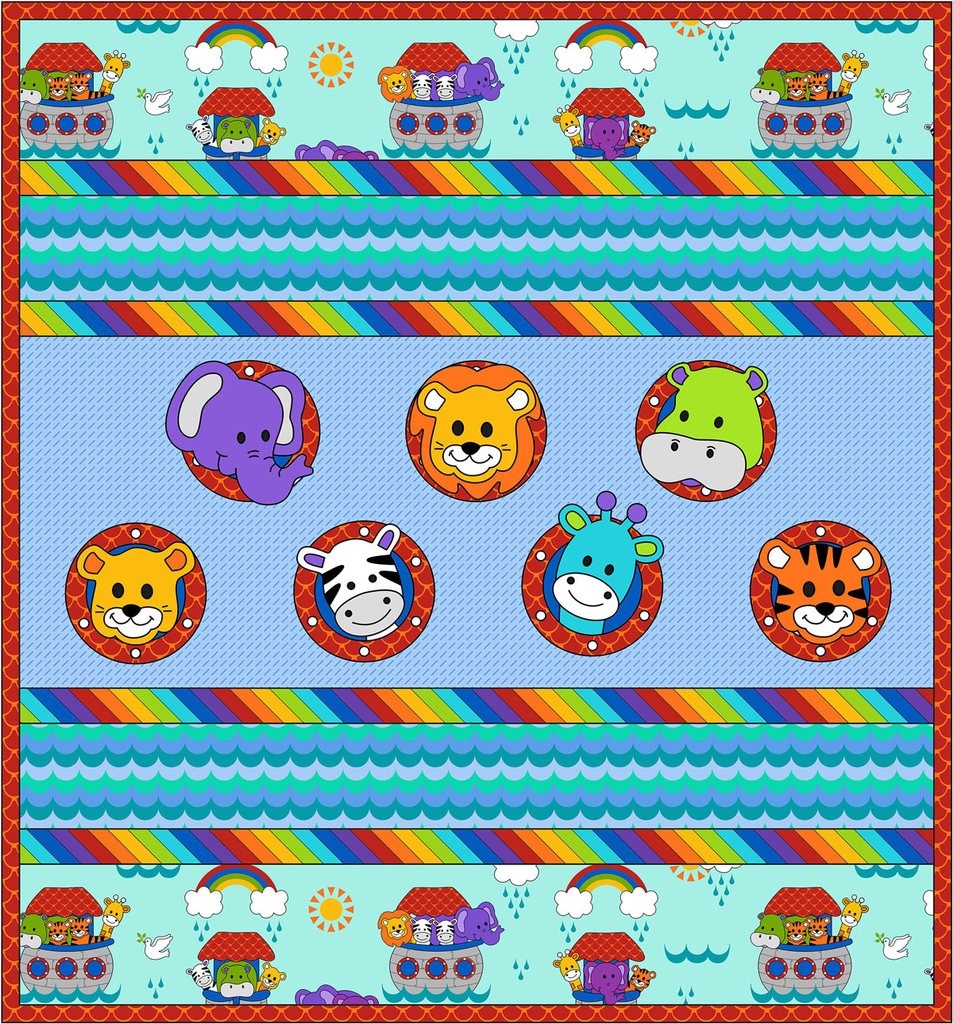
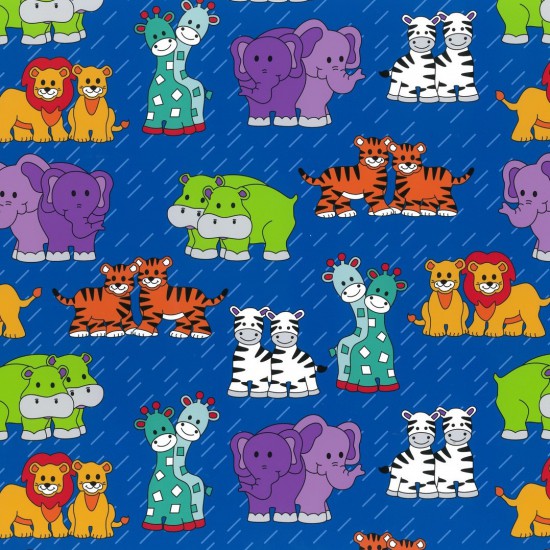
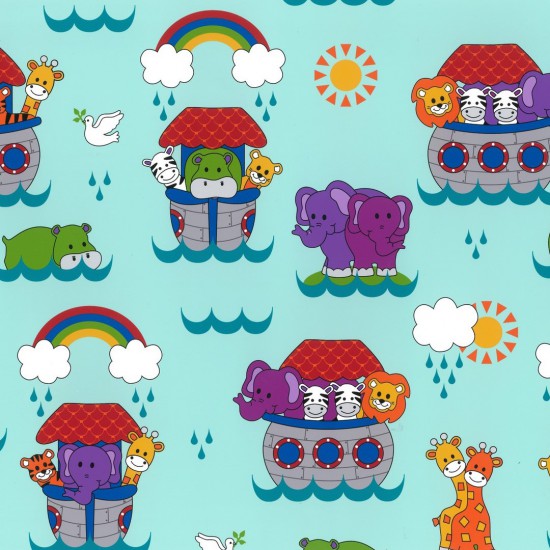
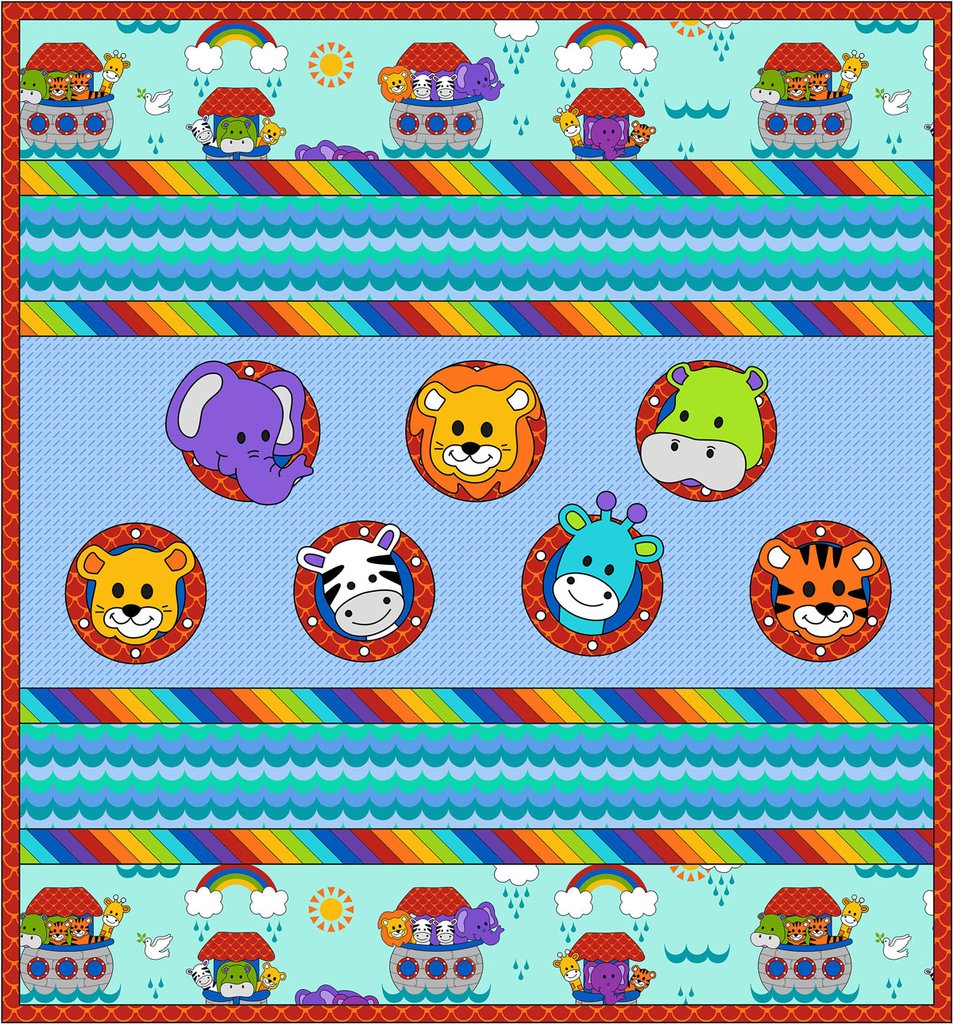
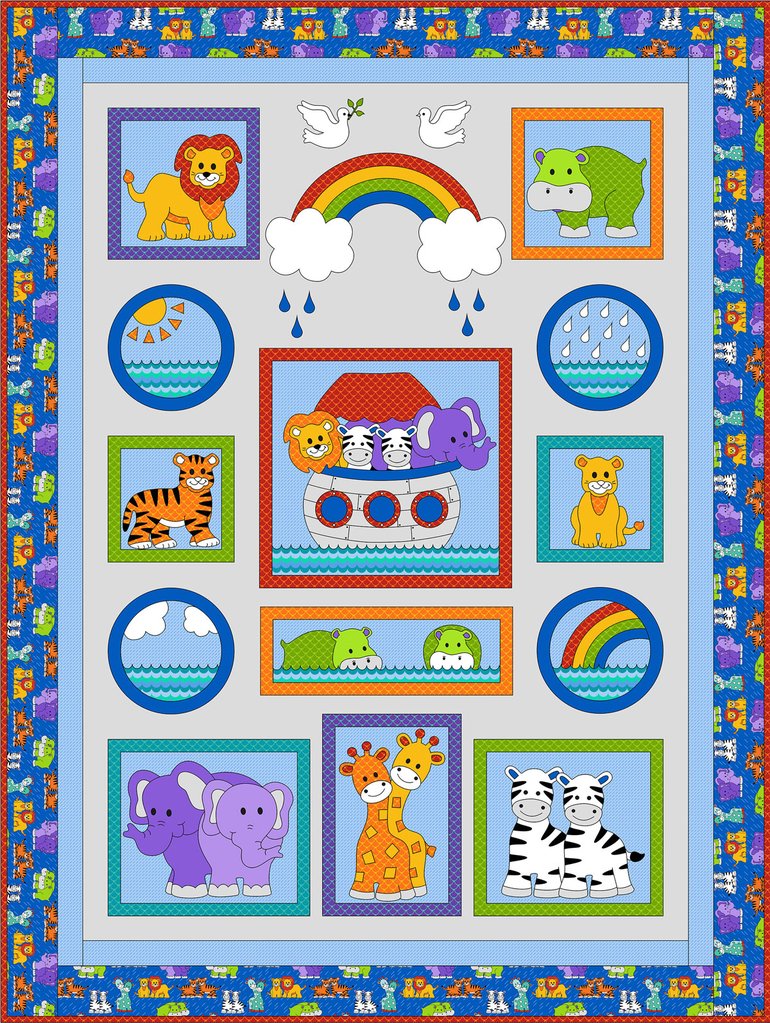
The weather here has been so dreary that we can’t help thinking of Noah’s Ark. Nutex’s Little Noah collection of fabric and patterns has been very popular over the last few weeks, so we can’t be the only ones! As the drizzle continues, we’ve decided to take 10% off the whole collection, and we’ve thrown in a few other animal themed goodies too.
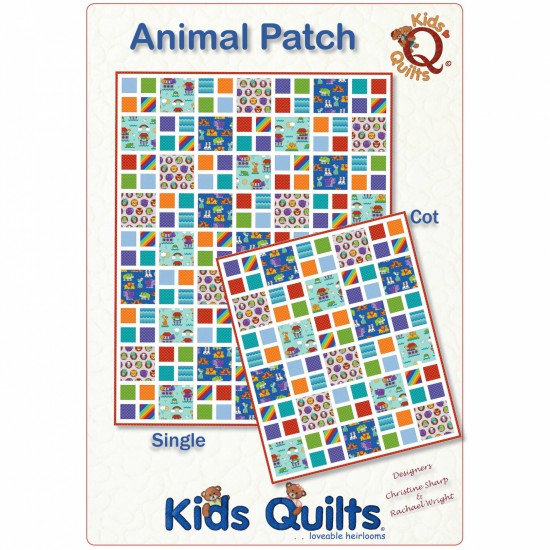
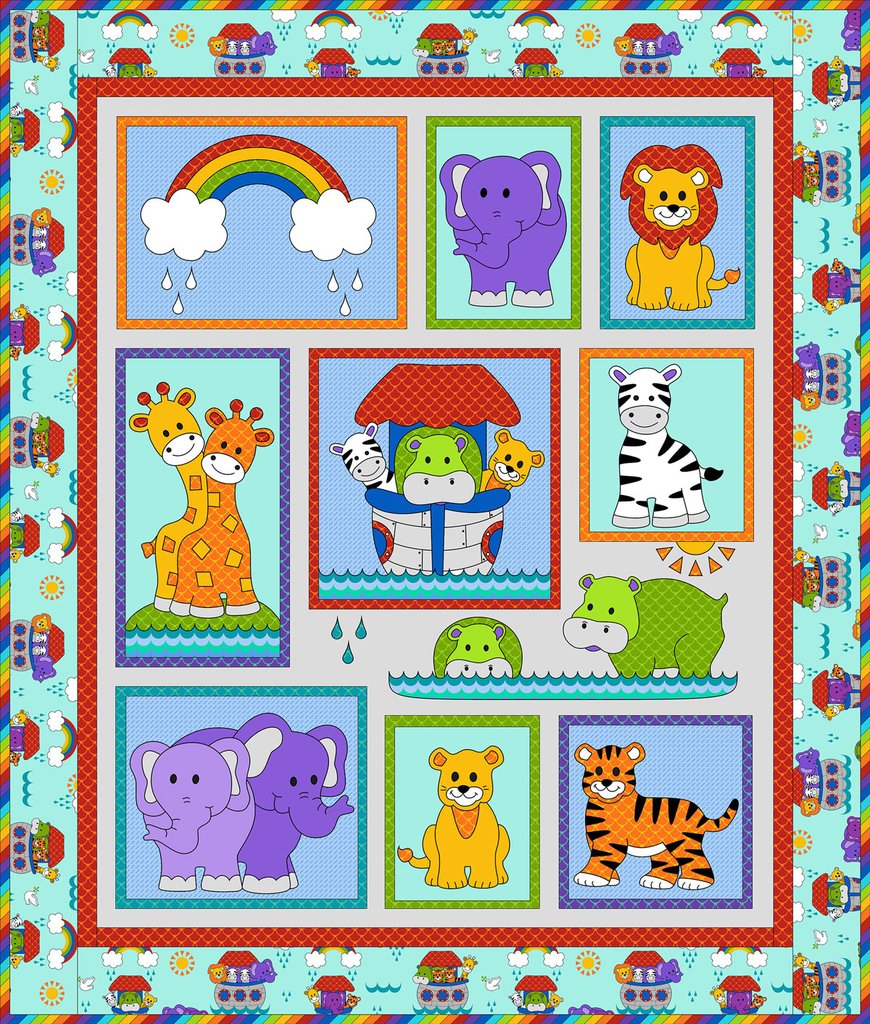
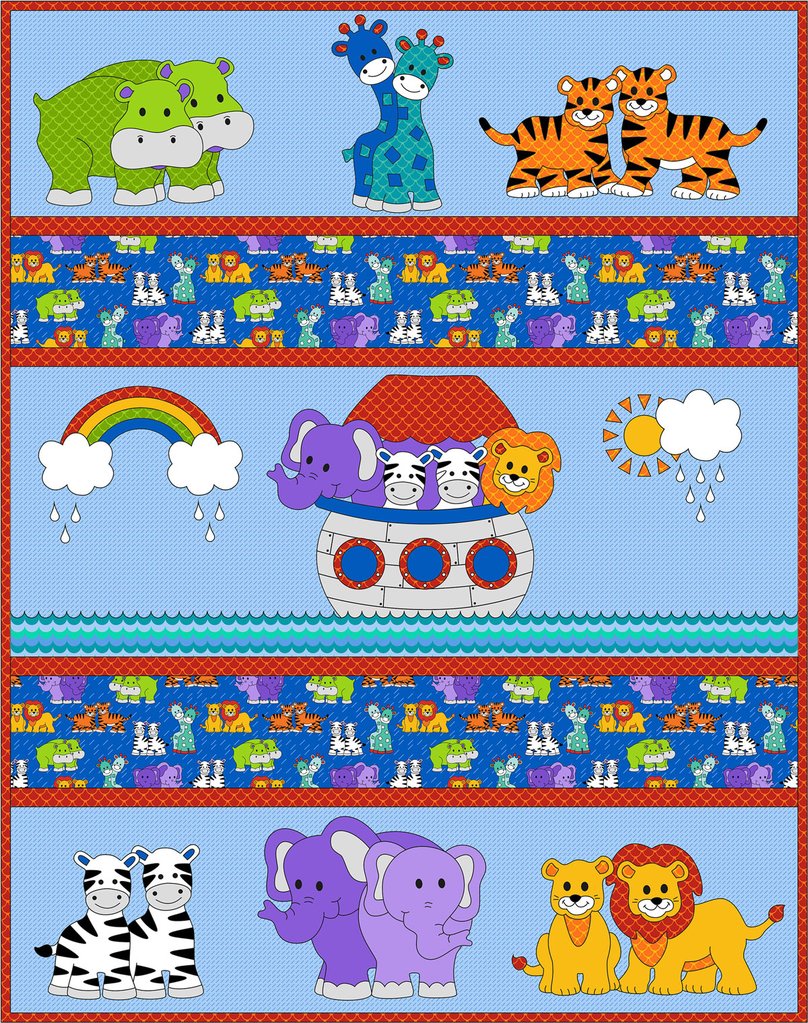
There are some delightful quilt patterns from Kid’s Quilts designed especially for this fabric – also with 10% off.
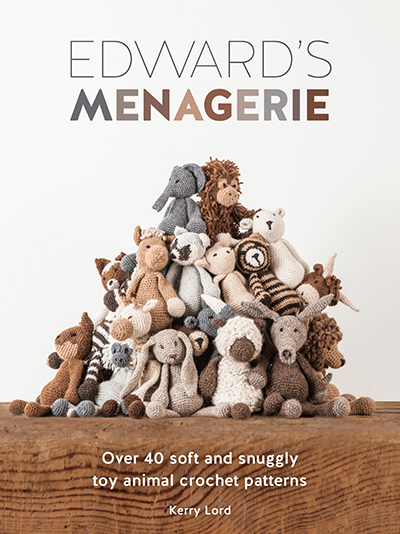
Plus we’ve also taken 10% off Kerry Lord’s amazing Edward’s Menagerie. Crochet your own Noah’s Ark with 40 unique animal patterns.
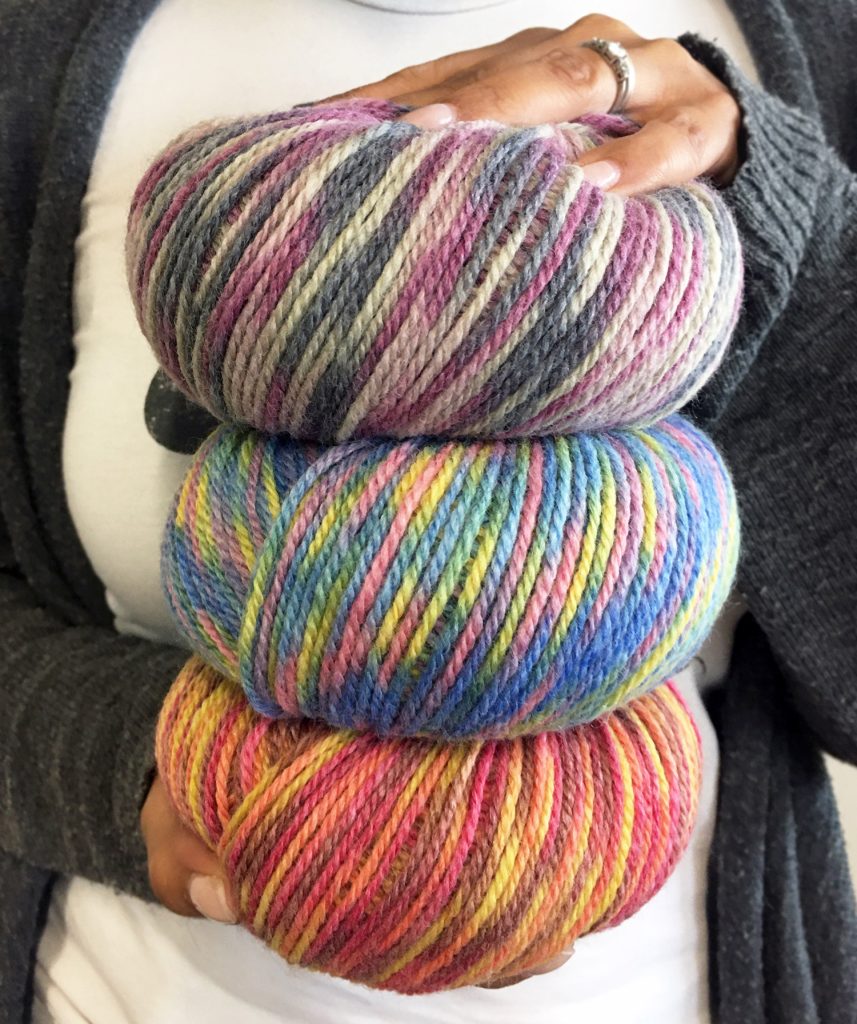
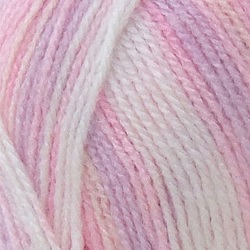
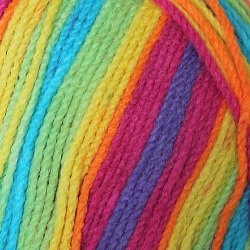
And we’ve also discounted Stylecraft’s Wondersoft Merry Go Round. 100% premium self-striping acrylic available in both brights and pastels. Only £3.60 per 100g and just perfect for baby and toddler knitting patterns.
You can find all of our current Star Buy offers here
Offer valid till midnight on Monday 2nd March 2020. Subject to stock availability.
