FREE Patchwork Slippers Knitting Pattern

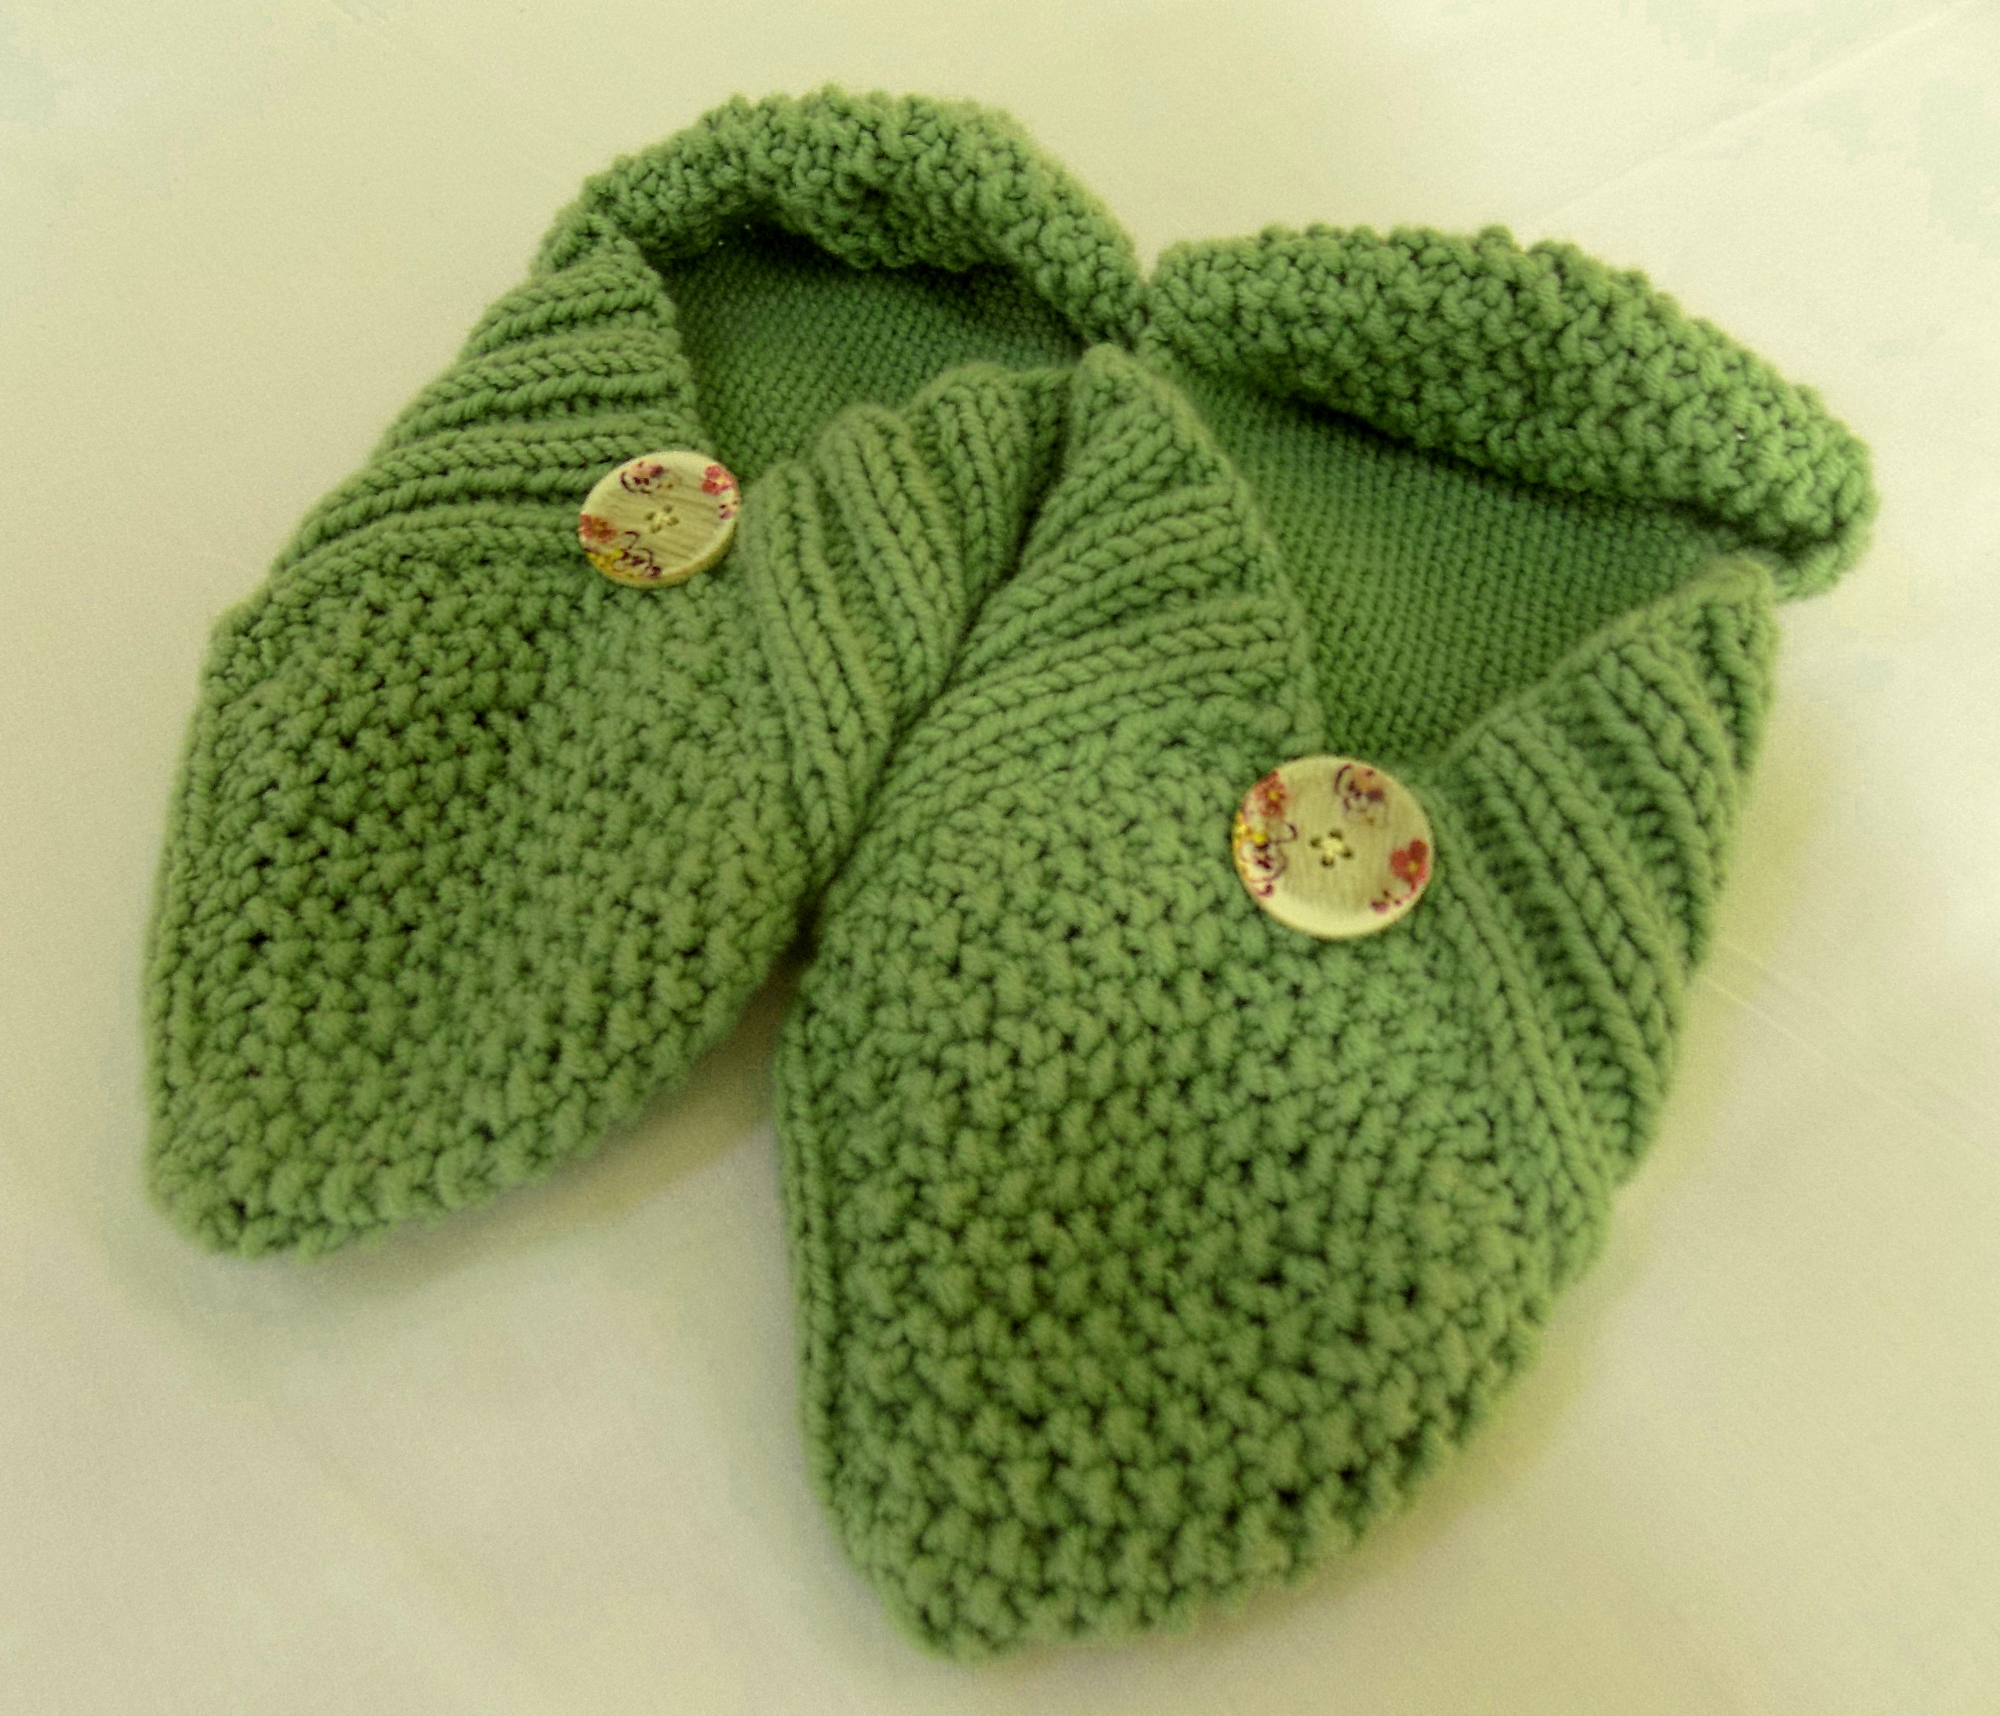
A delightful design – these slippers are easy to make. They fit your feet snuggly and best of all, they are very portable. Just fold them up and take them on holidays.

Materials:

3.75mm needles

100g of any double knit yarn.

Suggested yarns:

Stylecraft Life DK 100g – 75% acrylic & 25% wool

Stylecraft Highland Heathers – 100% acrylic

Adriafil WoCa – 70% wool & 30% hemp

Adriafil Knitcol 50g – 100% merino wool

Sizing:

The sizing of the slippers is altered depending on how many stitches you cast on and how many rows you work for each square.

Ladies Size 4        Each square should measure 3”. Cast on 16 stitches and work 19 rows

Ladies Size 5        Each square should measure 3 ¼”. Cast on 18 stitches and work 22 rows

Ladies Size 6-7    Each square should measure 3 ½”. Cast on 19 stitches and work 26 rows

 Stocking Stitch Square (make 4)

Cast on according to size.

1st row: knit

2nd row: purl

Repeat until you have completed the correct number of rows for your size.


Rib Stitch Square (make 4)

Cast on according to size.

 1st row: K1, P1 to end of the row

2nd row: P1, K1 to of the row

(Each row starts with the same type of stitch as the last row ends on)

Repeat until you have completed the correct number of rows for your size.

Moss Stitch Square (make 4):

Using the same technique that helps form the rib stitch, you can knit this striking effect. Moss stitch is essentially a 1×1 rib stitch.

Cast on according to size.

1st row: K1, P1 to the end of the row

2nd row: P1, K1 to the end of the row

(Each row starts with the opposite type of stitch as the last row ends on)

Repeat until you have completed the correct number of rows for your size.

 Making up:

 Step one:

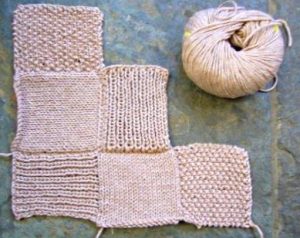
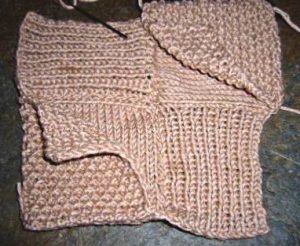
Take 2 of each square to form each slipper, and sew together as in the photo. Two stocking stitch squares form part of the slipper base. Two ribbed squares form the base and sides. Two moss stitch squares form the heel and front of your slippers.

Make sure that you sew in the ribbed squares exactly as the picture shows so that the cast off edges form part of the opening of the slipper.

 Step two: 

Take the two moss stitch squares and sew to the edges of the stocking stitch squares as shown. You have now formed the heel and the toe. Now take one of the moss stitch squares only. This will form the front of your slipper. Sew up a third edge to the side edge of the ribbed square. Now sew up the fourth edge to the edge of the other ribbed square.

Finishing – To edge your slipper, crochet a chain around the opening of the slipper, or make an i-cord and sew around the opening.

I-Cord:

Step 1: Cast on a few stitches. I-Cord is usually made using 3-5 stitches.

Step 2: Knit one row

Step 3: Do not turn the work, just slip your work to the other end of your double

pointed needle. Your working yarn will be at the “wrong” end of your     work.

Step 4: Pull the working yarn tightly along the back of your work and knit the

next row.

Step 5: Repeat steps 3 and 4 until you have an I-Cord that will fit around the slipper opening with a slight stretch. Sew in place.

Decorate with buttons as we have done or embroidery, beads, ribbon. There are endless possibilities.

FREE Loopy Scarf Pattern

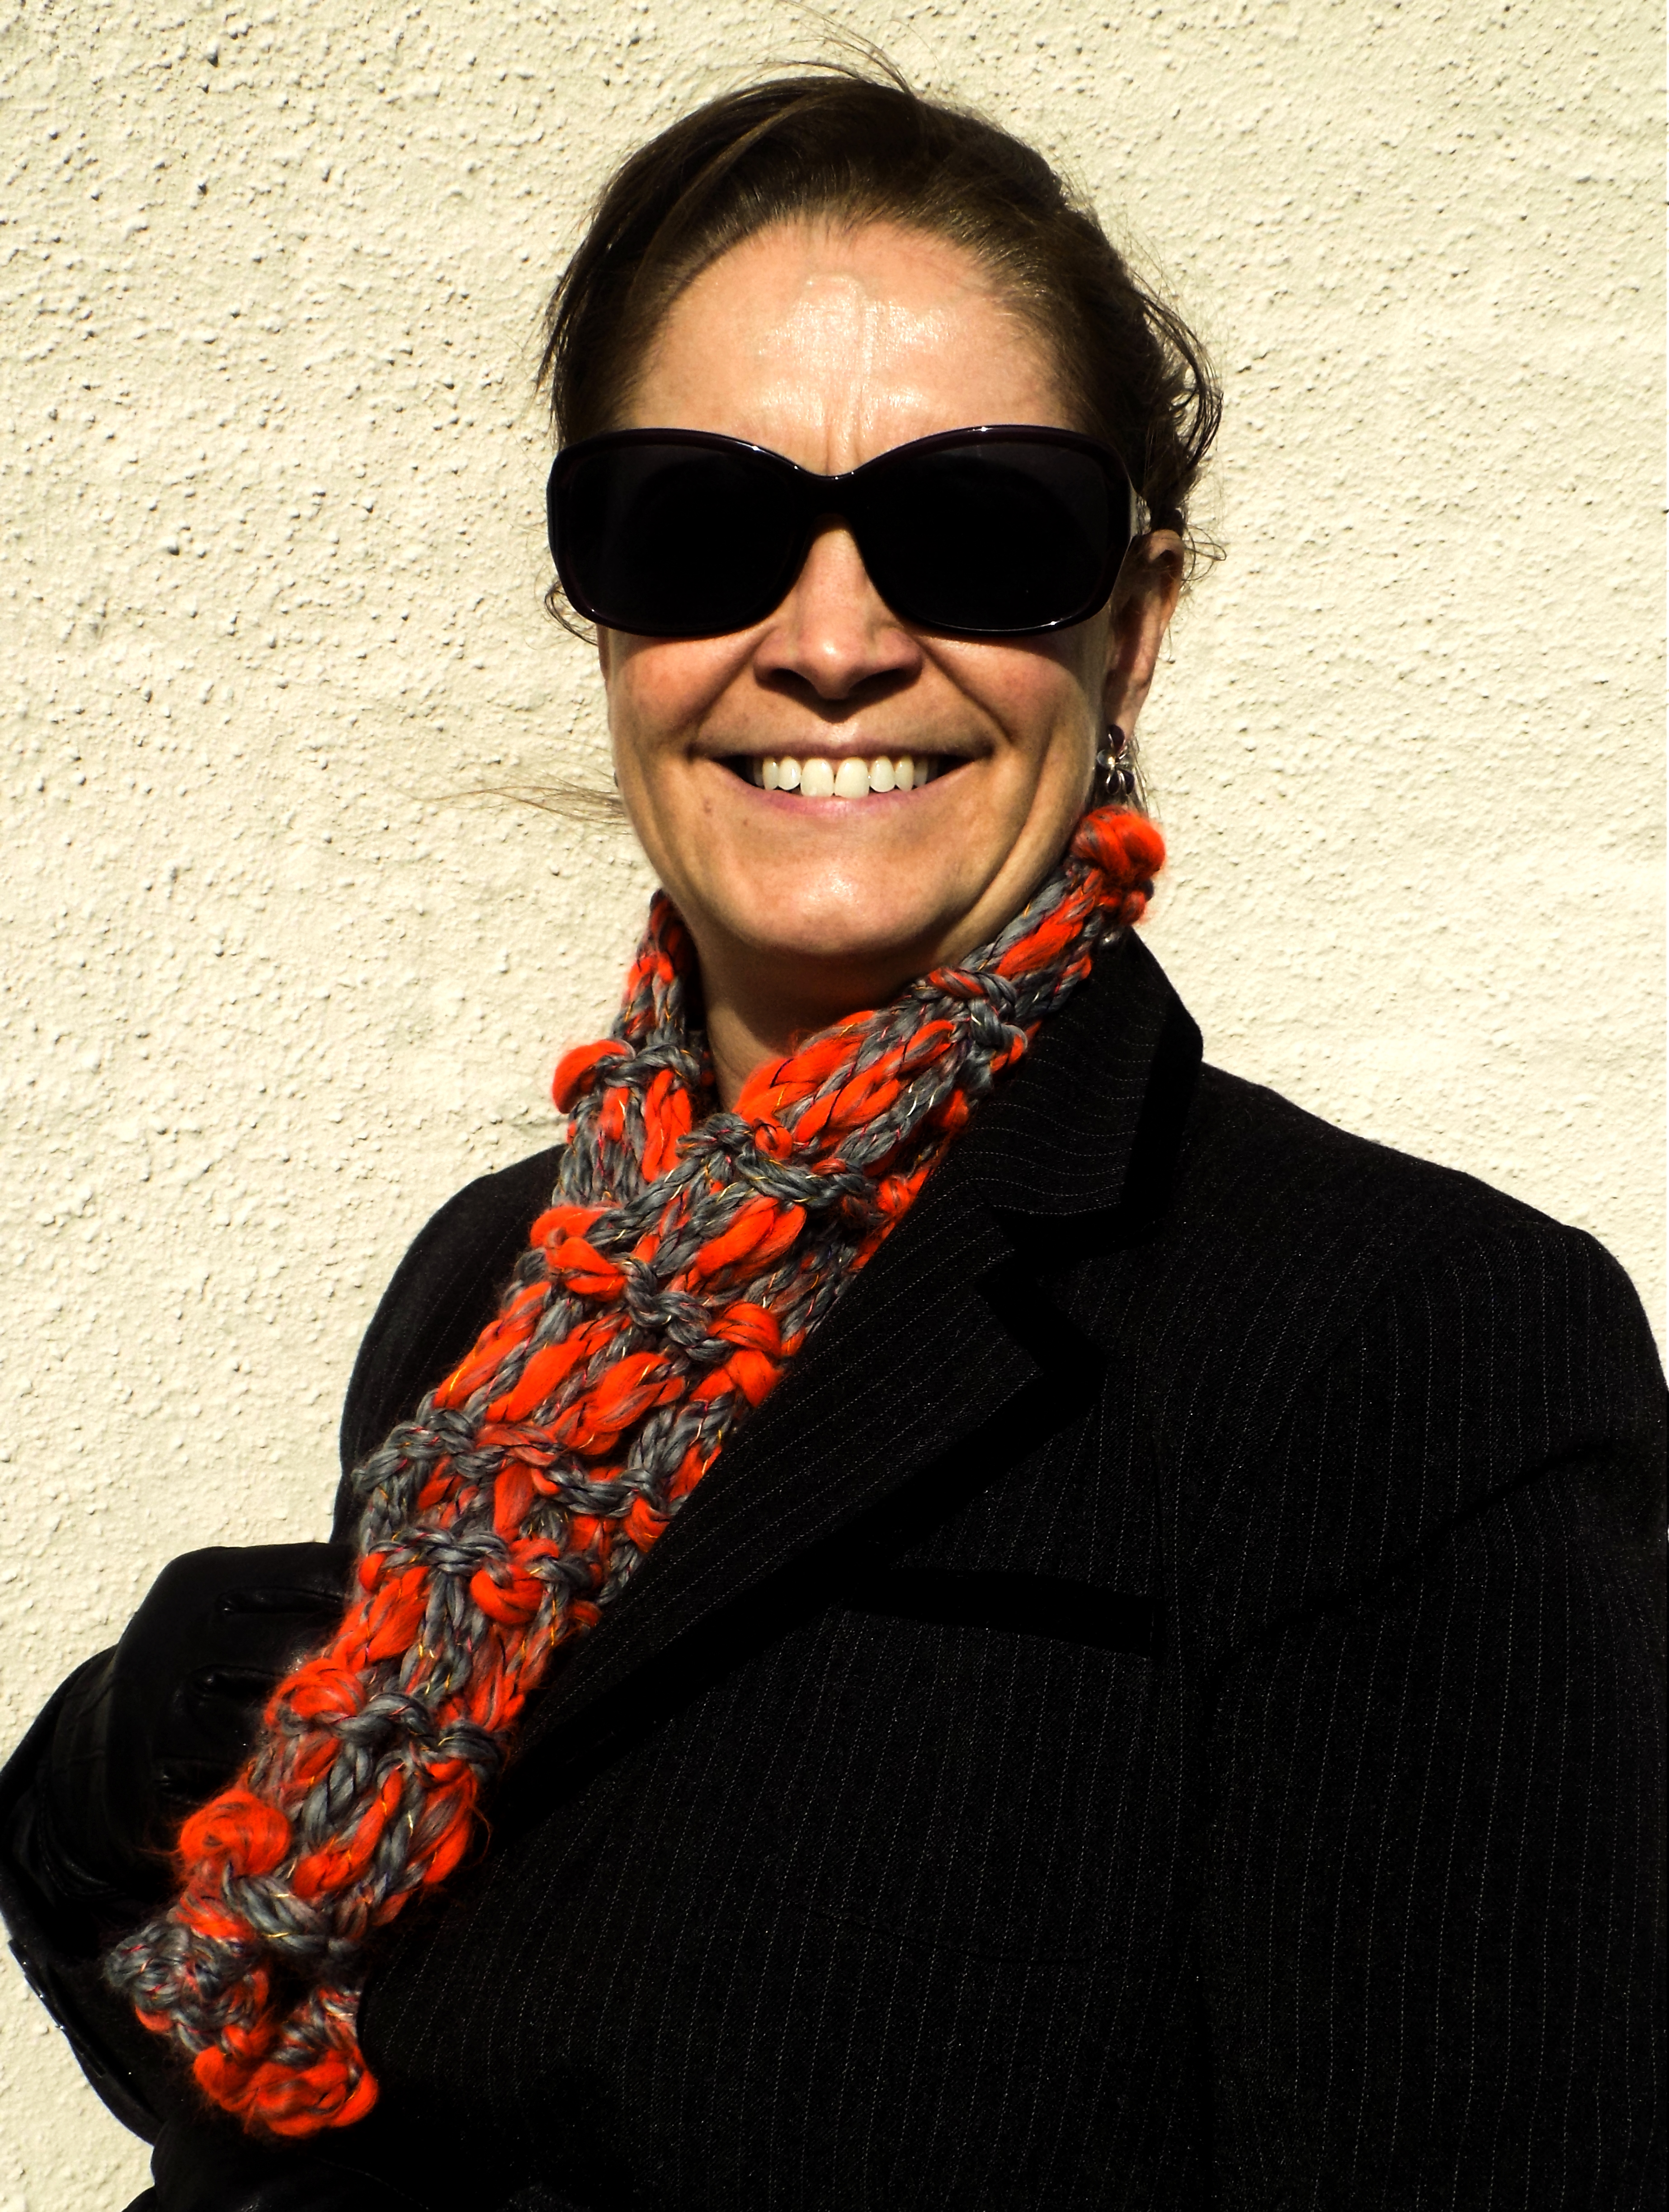
This unusual looking scarf takes approximately one hour to make. Perfect for whipping up an evening, or in a long queue!

Requirements:

One set of 15mm straight needles

Cygnet Seriously Chunky Prints,  or Stylecraft Merry Go Round Super Chunky.

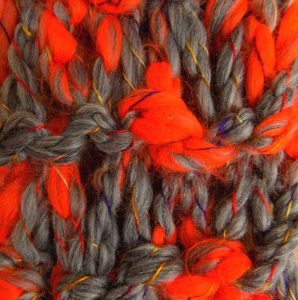
Loop st: Insert needle into stitch knitwise, wrap yarn around needle twice. Pull yarn through, and leave both loops on right needle. Slide stitch off left needle.

Instructions:

Using 15mm knitting needles, cast on 5 sts.

Row 1: Loop st across all 5 sts.

Row 2: K all sts, treating each loop wrap as 1 stitch.

Repeat rows 1 and 2 until the scarf is the length

required, or you have 30 cm of yarn remaining.

Cast off loosely.

Making up: Wrap scarf around neck, and pull

through a central loop near end of scarf to secure.

We’ve knotted the ends of our scarf just to give it a little extra weight at the ends!

This pattern can be adapted to any yarn.  Our

recommendation is to use needles larger

than the yarn indicates and that the yarn should

have some variation in it.  The number of stitches

can also be altered till you get the width you need, although wider scarves will use more yarn!

Project Linus Update

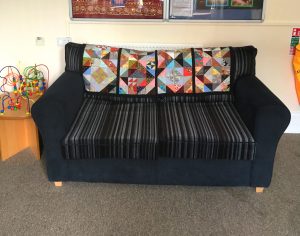
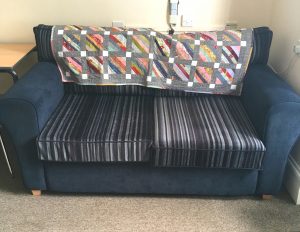
We’ve received a wonderful message from Elaine, who distributes our Project Linus quilts. She’s had some thank-you emails, along with some lovely photos of happy recipients!

” ‘Since you came into St Johns and dropped off the blankets there has been a real special buzz on how well they are supporting the children in such a large variety of ways.

We separated the blankets into Seniors and Primary and each blanket has found a home with individual students for them to use during their school day. The blanket belongs to the student and will travel up with them through out their school life(which is perfect for this time of year when the students are going through such changes) and if the blanket last long enough will go with them into adulthood.

I’m so pleased I responded your email as the benefits seen in the students from having one of the beautiful hand-made blankets is so warming.
Please pass on my thanks to all the amazing members of the project who produce these beautiful items.

Thank you and take care
Faye’

A second thank you came from Bedford Hospital

‘I just wanted to say a huge thank you for the beautiful hand made quilts we have received on Riverbank Ward to use with the children here.Each one is a work of art and will be carefully placed with a child who I am sure will cherish it forever. It is such a lovely idea, thanks to you and your team for spending the time creating and making these beautiful items.
I’ve only just seen them today but felt compelled to email you immediately!
Anne’

And a third one from a Women’s refuge that Kathy specifically wanted to give some quilts to, after Ruth’s visit to our last meeting at Tudor Rose. the quilts had been sitting on the top of her wardrobe (as you do) and they have now found a new home
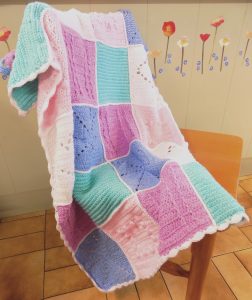
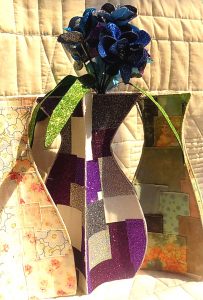
‘I just thought you may like to see two of the larger quilts in situ. They go beautifully with the colour scheme in our residents lounge. If you can pass on special thanks to Kathy too please. I haven’t managed to get our handyman to put up the ones for the wall yet, but I will send you a picture when I do.

Ruth’

So thank you all so much, it’s a pleasure to be able to spend time together at the Tudor Rose making the quilts and then deliver them around Bedfordshire and to see how grateful everyone is when I show them what I have brought them and they obviously get pleasure in passing them on to the children.
Enjoy the summer and see you all in September.

Regards,
Elaine”

Project Linus is a fantastic charity who distribute comfort blankets to disadvantaged and sick children and teens. You can find out more about their valuable work HERE

Want to contribute? Find out all about our upcoming Project Linus days HERE

Pixie Dust Crochet Along Blanket

PIXIE DUST (NOUN)

A substance or influence with an apparently magical effect that brings great success or luck.

Origin: 1950’s. From the magic dust that enabled humans to fly in J. M. Barrie’s Peter Pan

We’re so excited to be announcing our very first Crochet Along! We will be officially launching for The Festival Of Quilts at Birmingham NEC from 10th – 13th August (we’re on Stand E3), but you can sign-up online now ready to receive your first installment on 15th August. When you buy the bundle at the special price of £20.00 you will receive a free pattern every following 2 weeks for 10 weeks. The end result is an adorable baby blanket or throw, use it in the pram, pushchair or car seat.

The blanket is made in the beautiful, soft Peter Pan Pixie yarn. The patterns are aimed at beginners and build each week on the skills you learnt the week before. However, this is a simple pleasure for the more experienced crocheter.

The pattern is utterly flexible, you could change the colours, increase the size, change the yarn. Make it for a friend, a child, a teenager, an elderly aunt…

You will need a 3.5mm crochet hook, scissors and a knitter’s needle, and the size of the finished throw is approximately 91.5 x 68.5 cm (36 x 27″).

Sign up and join in here: Pixie Dust CAL

Joy’s March Update

What’s been happening since my last update?

I mentioned I was crocheting mad – still am, nothing has changed there. I’ve lost count of the WIPs. There are presents for family and friends, tasks to encourage my mum back into crochet and of course, things that I just must do for me. And there’s a blanket CAL starting soon that I’ve got my eye on too. Never enough hours in the day. And I’m sure that’s the same for all of us.

My mum’s been unwell and needed to get her groove back. She tried to teach me to crochet when I was 8, then as a teenager. I was 43 before I asked her to show me again. I’ve come on leaps and bounds since then but she needed a helping hand. So I found us a lovely blanket of squares we could work on together and I’m pleased to say she’s enjoying herself again. And it’s been great that I could give her something back.

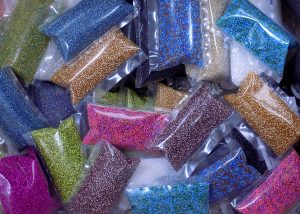
Since my last post, I attended the first beading class with our new tutor and that was a huge success. A lovely group of ladies just having a lovely time together, like minded but from so many different backgrounds and walks of life. I’m very much looking forward to our next class at the end of March. Sue Stallard proved to be a super tutor, our group is a mix of complete beginners, some of us with a bit of experience and a couple of ladies who have been beading for donkey’s years. I’ve already been shopping for our next two projects. It does help that I know what’s coming next and what we have in stock. Come and see our new beads and crystals all the way from Czechoslovakia.

I do enjoy sewing and quilting but as a busy mum I spend a great deal of time driving and waiting for children. The portability of crochet and beading just lend themselves to being picked up and put down. I sit in the back of the car sometimes, with my laptop on the seat next to me, watching the latest drama or documentary, a pile of wool around me, a pattern fastened on to the headrest in front of me and a flask of tea. It’s actually not a bad way to spend a few hours really, truth be told. However, roll on the longer nights, because beading to the illumination of a car light is quite hard work on the eyes.

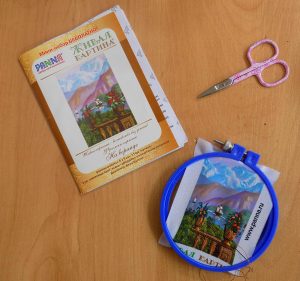
At work, I’ve been working on a sample embroidery. It’s a stitched and stump-worked kit that we may stock in the future. But I have needed a magnifying lens and lights, as the piece and stitches were so tiny. And that was in broad daylight. Keep an eye out on our social media and website for the kits.


February Progress

Nothing much has changed, the weather is still dismal and grey.  Sad to say but I still haven’t finished my lovely big crocheted throw.  Nearly there, 180 rows done, just the edging to do.  Getting quite excited now the end is in sight.  It has been quite nice spending a little time each evening on the sofa in front of the TV with my ever-growing blanket keeping me warm.  Spent the day out with my son and 10 other 14 year olds over the weekend paint balling.  Well they were paintballing, I sat in the car and crocheted, jumped out into the rain, fed them, sent them off again, jumped back in the car, crochet and repeat.  They all had a brilliant time and were exhausted by 4 o’clock.  I had a marvellous time being able to crochet without feeling guilty that I wasn’t doing housework/ironing/vacuuming etc etc.
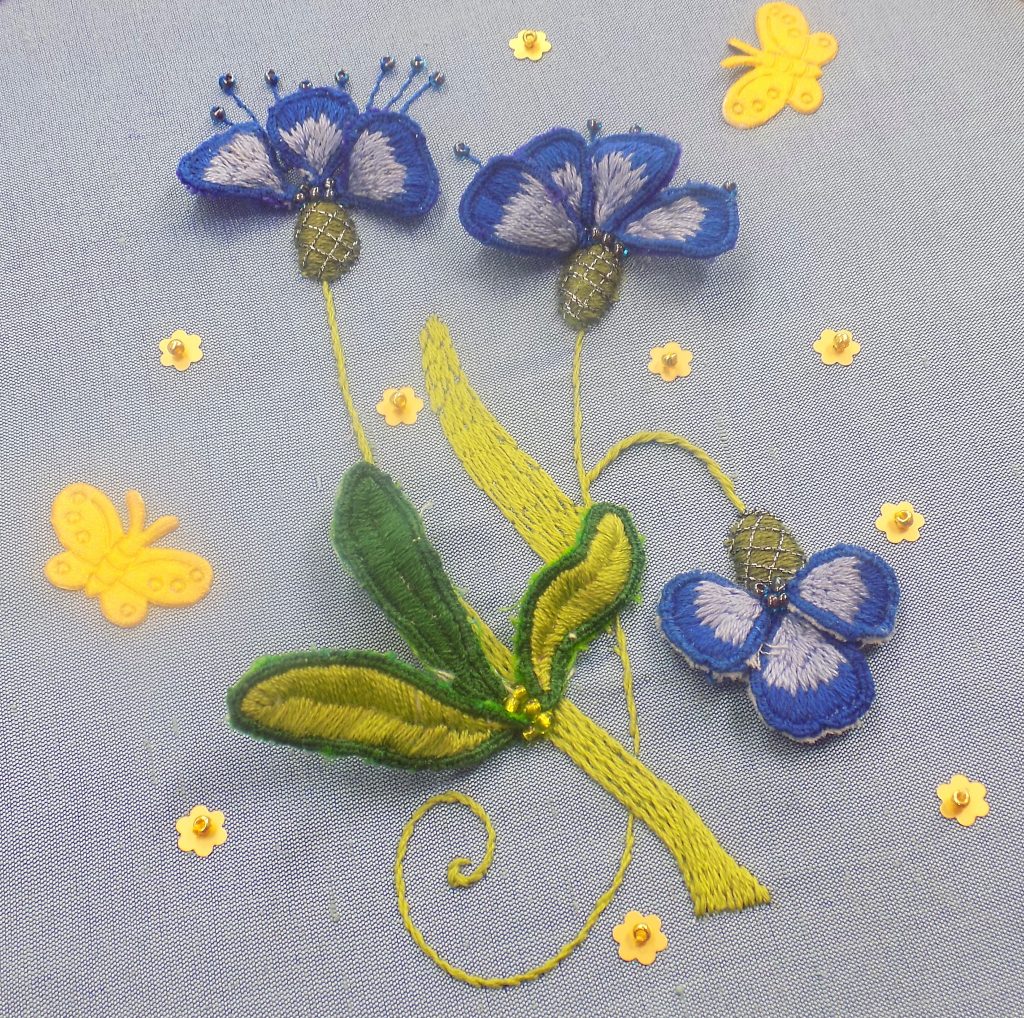
 

I have however also been working on a couple of my many UFOs.  Just a few…


Having finished this lovely little piece, I have rediscovered my love of handwork, I started this stumpwork piece in a class with Kathy Laurel Sage about 18 months ago and I completed it last week. Just waiting for a frame now.  And of course, I’ll have to find a home for it.  It has reminded me how much I enjoy cross stitch and embroidery.   And goldwork… and tapestry… and jewellery making in its various guises.

I’ve joined a monthly group starting next month here at Tudor Rose Patchwork with our new tutor Sue Stallard and I’m very excited about the projects we’ll be doing in class.  The samples for each class are lovely and I’ve had a wonderful day ordering in the beads and crystals we’ll need.

The shipment of Czech delicas arrived on Thursday.  Huge amount of work involved getting them ready for you all but actually thrilled about new projects that are ahead of us.  Not to mention a couple of UFOs too… along with a bracelet and a necklace that need attention.

Help!  There’s just too much to do and not enough time.  Maybe if I didn’t sleep, eat, work or have to do anything with the children.  And I keep finding more to do.  I belong to a couple of Facebook groups and every day there’s a new pattern I’d like to make or new products I’d like to try.  A good job I don’t belong to any other social media.  It’s just madness.  How do you decide which project, piece you’re going to work on next?  Do you try and finish something a section a week whilst working on several others at the same time or just wing it, work on what you feel like that day?


Gold Work by Hand or Gold Work by Machine


Which one works for you?

By Kathleen Laurel Sage

Hi everyone,

We are now well into the New Year and many of us have already signed up for classes that inspire us to learn a new technique and make that stunning project. The weather is cold and dismal so it’s an ideal time to keep busy during the day with your machine projects whilst keeping cosy and comfy in the evenings with some hand stitching.

One of my favourite winter evening pastimes is my Gold Work embroidery as I can sit in my comfy armchair and stitch it when watching the television and being with the family. I can even manage it at a push with my dog on my lap.

Traditional Gold Work can seem so very intricate and people can be put off by what is actually a very easy to achieve technique when you are shown how. The simple stylised designs are accentuated by a couched cord sewn around them, then infilled with seed beads, leather and a whole host of lovely shiny gold work wires and cords that are available from the shop.

If you’re not a hand stitch kinda girl don’t fret because I like to push the boundaries to try and emulate the look of traditional stitching using my sewing machine. I have spent several happy days in my studio working out just how to do this and bring this stunning gold look to those of you who prefer to use your sewing machines.

What’s the difference?

First of all the embroidery hoop went and a stabiliser fabric was introduced to support my design. A quick gathering of all things gold such as cords, machine thread, ribbons and beads and I was ready for the challenge. Now all that I had to do was experiment with how to emulate my lovely gold work using only my trusty old sewing machine! With a little practice and a good look at what my basic machine had to offer I soon realised that it was no big deal, just use the machine stitch to accentuate the design and to couch the cord. Simple really… What about the leather though? Well the machine didn’t like going through such small pieces so back to the drawing board, but not for long. Tudor Rose Patchwork has a new and sensational product called Fusible Glitter Film and wow it does a grand job of replacing the padded leather of the traditional method. So away I went again. With the use of a few utility patterns and a dab of gold paint, I had soon created my new machine version of traditional gold work and wow I was pleased with it. Plus it took me much less time to complete and finish than the hand stitched version. A real plus when time is short.

I love the fact that it can be done both ways and I invite you to come along to my machine embroidered, ‘All that Glitters is Gold’ workshop on the 18th February and have a go for yourself.  Whether you’re a hand stitch girl or a machine stitch girl, you can both do gold work.

And for those of you who love your hand stitched version don’t forget to book a place on the Gold Work sunflower on Monday 26th June.  We have also opened up another date for the popular Gold Work Bumblebees on the 22nd November. So hurry and book your place as they are going fast!

Hand embroidered Gold Work

Machine embroidered Gold Work


You can book a place on Kathy’s upcoming courses, and find out about our other courses HERE