Dressmaking: A beginner’s guide to patterns.

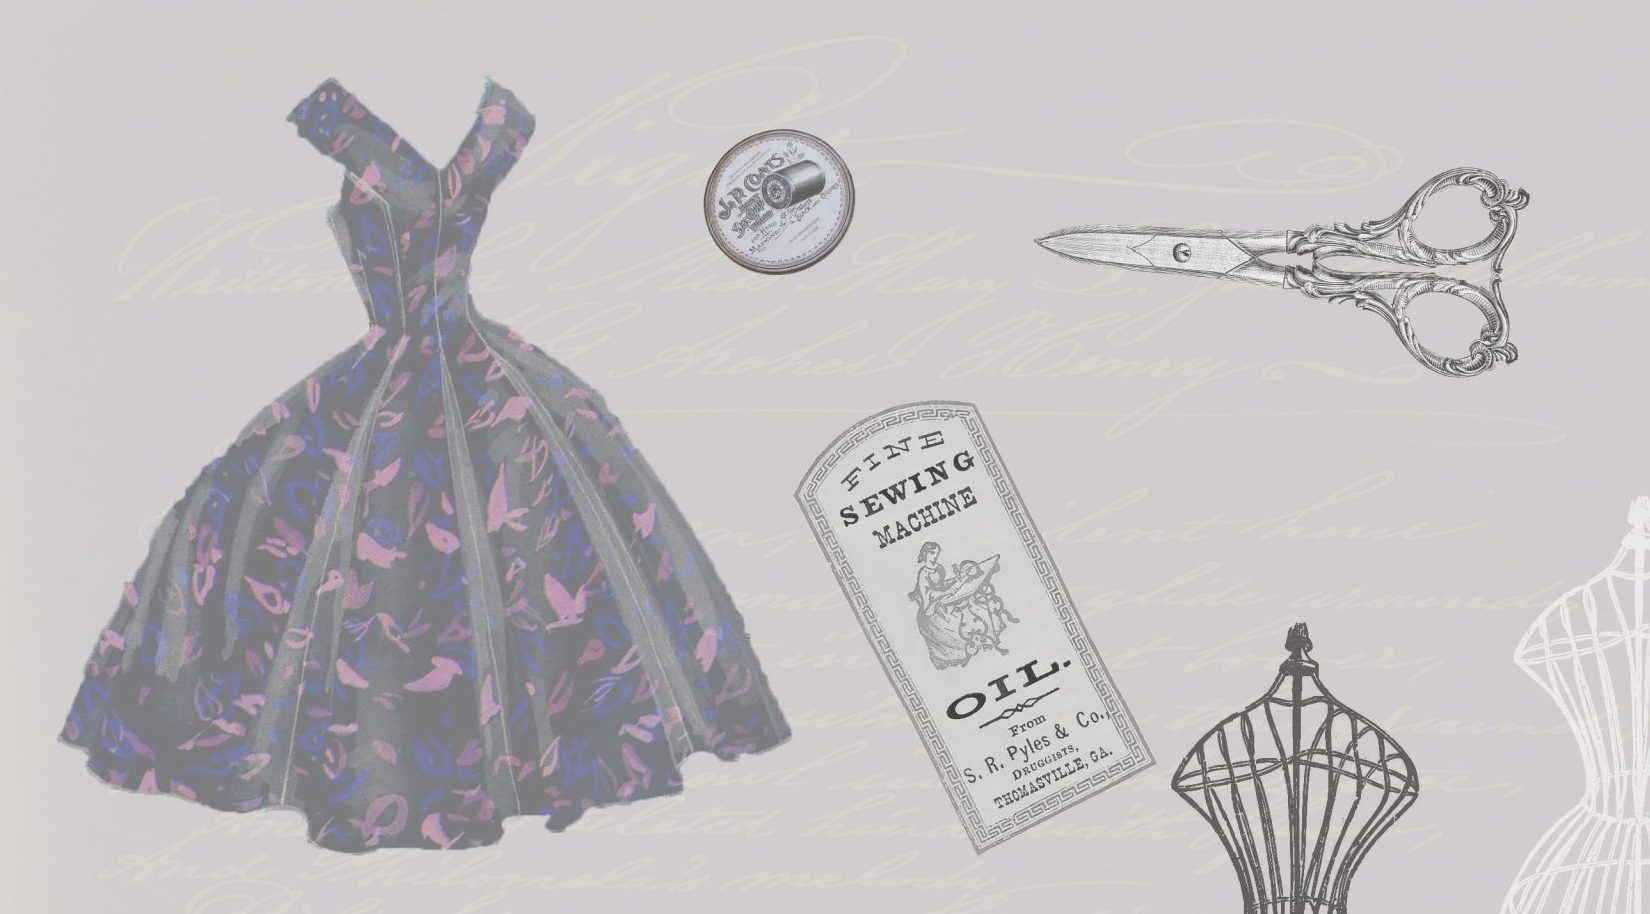
A sewing pattern is the place for a beginner to dressmaking to make a start.  As well as an envelope containing pattern pieces and instructions there is the envelope itself which is full of information. Not all pattern envelopes are laid out in the same way but the information provided is the same.  To be successful as a dressmaker you need to understand the pattern. 

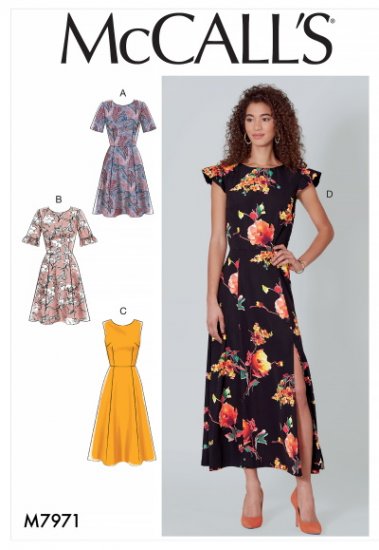
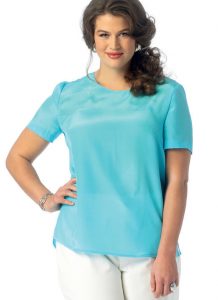
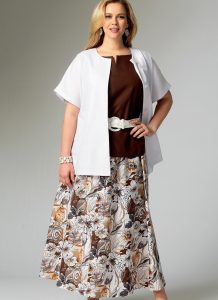
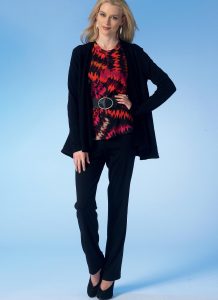
The back of the envelope shows two measurements:  body measurements and sizes for the finished garment.  You will find fabric recommendations and the amount of fabric you will need for the different sizes.  In addition, there will be drawings of the variations of the garment, sometimes called technical images or line art.  You will also see a list of the notions or haberdashery you will need ie zips, interfacing etc.   The information may also be provided in French or Spanish alongside the English.

Most patterns give you a guide as to how difficult the pattern will be.  Easy/Intermediate/Complex.  If you’re a complete beginner, try an easy pattern to start with.  Some manufacturers have “learn to sew” patterns created with a complete beginner in mind, full of tips and advice.

Fabric & Notions

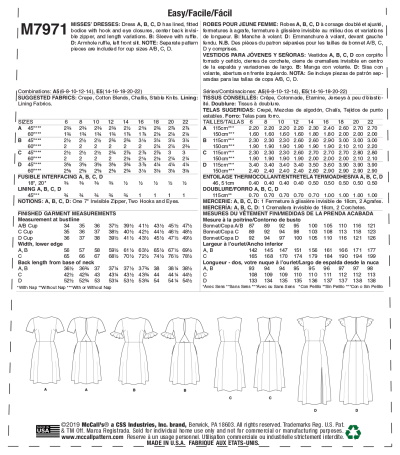
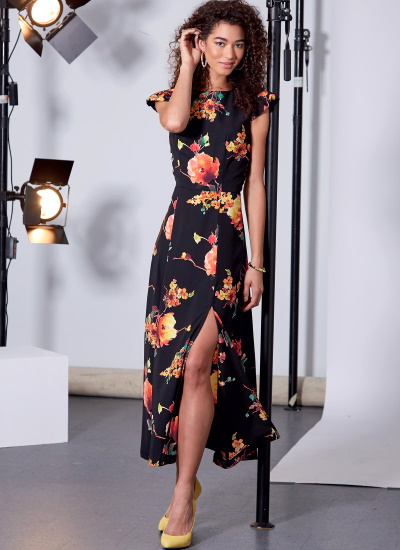
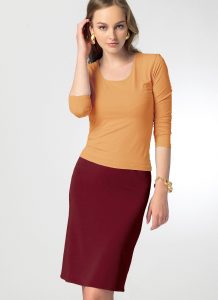
Recommended Fabric   For you to make the garment and achieve the intended look follow the recommended fabrics.  A flowy skirt or fitted jacket would look wrong in t-shirt jersey.  As a beginner it is important to follow the advice from the designer.  You don’t want to spend hours creating your garment to be unhappy with the finish because of the fabric you’ve chosen.  You may also need a lining fabric and contrasting fabrics.

If you’re unsure, have a chat to any of our staff who’ll be very happy to help.  Visit our website here to see a small selection of what we offer.

Fabric Requirements    This tells you the amount of fabric you’ll need based on your chosen size and the width of the fabric you are buying.  Always buy the amount advised – you don’t want to run out if you make a mistake.  Most dressmaking fabrics come on rolls or bolts in 2 approximate widths: 110cm/44” and 150cm/60”.

Notions     Don’t forget to buy these.  This is things like buttons, zips, elastic, trim. 

Not mentioned on an envelope but needed are needles and threads appropriate for your chosen fabric.  A denim needle will leave visible holes in a chiffon fabric.  An extra fine thread will not be appropriate for heavy duty corduroy.

You can see our haberdashery here and needles and thread here.

Drawings

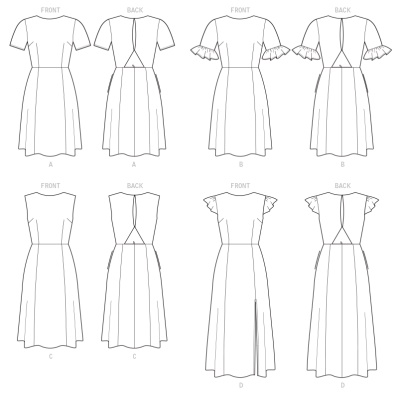
The line art or technical drawings show you the design details that are not always obvious in the photos.  You will see the variations of the pattern, for example sleeve options, different necklines or skirt lengths.  Things like darts and fastenings are more easily seen in the drawings.

Measurements

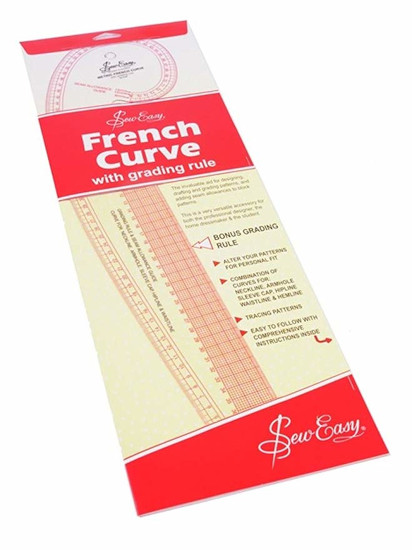
You will see two sets of measurements:  the finished garment and your body measurements.  Sizes on the high street are not the same as dressmaking sizes.  Take your body measurements accurately and then look at the pattern for the size you’re going to make.  Many of us fall between sizes.  This is completely normal and you will use a pencil and a curve ruler (also called a French curve ruler:  click here to visit our website) to draw on your pattern to create a smooth cutting line between to two sizes.

The finished garment measurements are intended to give you an idea of how your garment will fit once finished.  These measurements allow you to choose with even greater accuracy the size you’re going to make.

This is where making your own garment allows such flexibility with size and fit.

We sell patterns from 3 manufacturers.  Visit us in store or our website.

Crafting Holiday at Home

Every now and then I get asked to write the blog for Tudor Rose Patchwork.  I’m not a great blogger, my daughter knows more than I do and she’s only 14.  But then you expect a 14 year old to be a technological wizard.

I might not be a technological wiz, but I can craft.  In fact I love to create and make.  So much so that I decided to treat myself to a week off work.  The children were still and school and the husband was out at work and I had the luxury of 5 days to please myself crafting.  The washing machine did go on but there was not one garment ironed – apart from the quilt I was working on.

As well as having my sewing machine out to work on my quilt, I had yarn on the coffee table to crochet, my Pfaff Creative 1.5 embroidery machine was running 1400 stitches per minute and I finished a beaded parure.

According to Wikipedia, a parure typically consists of a combination of a matching necklace, earrings, brooch, bracelet and often a diadem or tiara.  Well mine was a mini or demiparure:  necklace, earrings and bracelet.  It was a huge project but the feeling of joy when I completed the last beaded toggle was immense.


So you have an idea of what my living space looked like.  The dining table, which when extended seats 14, was piled high.  It was so nice being able to leave everything out ready for the next day, knowing that I was coming straight back to it and not having to put things away until who knew when.

I loved being able to leave the embroidery machine set up.  It does take up quite a bit of room and I don’t have a dedicated crafting space so leaving it on the dining table for a week was marvellous.  Christmas is coming and I treated myself to a few Christmas designs.  I now have a set of 8 pristine, white napkins, each with a different design and in a different colour. 

My daughter chose purple as the colour scheme for our Christmas tree this year so we now have 5 white and purple embroidered felt decorations.  And finally, I nearly burnt out the engine creating lace bookmarks and a lace lantern.

It was a really wonderful week.  The downside, all the house work to catch up on.

Mad As A Raggedy Eared Hare

I

n the Spring I popped in my newest sample to the shop – Raggedy Eared Hare. He’s a cheeky wee chap with a jaunty scarf and beautifully textured ears caught in the wind. He proved so popular in the office that we had to add an extra session in for all of the staff and tutors to have a go.

It was a great day and at the end of it, as you can see, each hare is totally individual with little tweaks such as straw hats and bows in their hair.

Joy wasn’t very happy with the colour she created on her scarf and we couldn’t have her going home disappointed so we worked together to redo the colouring – this is actually really easy to do and one of the many wonders of Powertex.

I wonder if any of the hares have found their final homes on doorsteps and beside flowerbeds yet?

Like what you see. Follow this link to learn more about up and coming Powertex classes. The next Ragged Eared Hare is in September. Not long to go.

Purple Boots x

New Powertex Workshops!!

Another super Powertex class today. We had a group of complete beginners who have created some beautiful pieces and gone home totally inspired. Lots of the gang created steampunk pieces and have incorporated some great little details using old watch parts and recycled keys. Powertex is a fantastic way to recycle all those knick knacks you no longer have a use for. We also have some more beautiful ethereal samples made with butterflies and bows. As you can see the pieces are all totally individual and have been coloured according to all the individual tastes of the artists. Even better Powertex is totally weather proof so these pieces can be used to embellish a garden fence or exterior wall.

I’m really looking forward to seeing the work this talented bunch do at home and inspiring them again at one of the up and coming Powertex courses here at Tudor Rose. We’ve got three amazing new Powertex workshops coming up where you can try your hand at making a seated figure, a standing figure, and a fantastic fairy which would make a lovely summer addition to your garden.

Find the details and booking for the seated and standing figures here. Booking for the Fantastic Fairy isn’t open yet, but watch this space!!


Beginner Dressmakers at the ready!!

Three Days, New Clothes! with Linda Radley on Saturday 10th February, 10th March and 14th April

Make 3 different clothing items on three different days with Linda helping you create a complete outfit and bringing some freshness to your wardrobe.

You will make:

  • A skirt on 10th February
  • A top for Summer on 10th March
  • A jacket to finish the outfit on 14th April

Linda will guide you to achieve the best fit and look for you, along with lots of helpful tips throughout the three days.

You can chose from a selection of patterns – which can be purchased from Tudor Rose Patchwork in advance of the course and at a 20% discount!


The patterns recommended by Linda are:

M6654 – a classic

skirt in stretch fabric

M6927 – Simple top

M7059, M6970 and M7368 – a selection of skirts, tops, and easy-to-wear jackets.


There is a wide range of fabric suitable for the McCalls patterns available at Tudor Rose Patchwork, however the type of fabric you can use may be impacted by it’s suitability for the chosen pattern.

At the end of the three days you will have a completed, new outfit, have met lots of new people and really enjoyed your time with Linda.

Each day will run from 10am to 4pm. Book a place here.

Purple Boots and The Ocean Wave

I am looking forward to more Powertex workshops as we approach Christmas and I am making lots of new products to tempt you in to one of my courses. This week I have been working on mixed media pieces inspired by the sea. My best friend recently moved to Cornwall and her son is a surf instructor so he has had my ten year old out on the waves while the mums watched and ate cream teas. Then my daughter convinced me I had to have a go and I managed to stand up. I’m am actually quite proud of myself. I always tell my girl she should try things once and then she will know whether she likes it and can politely say nope not for me if she doesn’t. She’s a totally natural surfer, her mother, not so much and no one needs to see me in a wetsuit but I may just give it another try.

Being near the sea always inspires me and I often take my sketchbook out and about when we are on family holidays. I love the ocean especially when it is rough so it made sense to try to capture the feeling of the huge rolling waves. I am experimenting with white Powertex as I really want the colours of the sea to show through. Being a total beachcomber, I always manage to come home with pockets full of sea shells, driftwood and sea glass so I have incorporated some of these pieces into my waves.

Cotton lace and old t shirts are a great medium for Powertex so after applying a base layer of fabric I spent a couple of happy hours sculpting a pair of canvases. I wasn’t sure about how  effective lace would look in a piece of ocean art so I opted for narrow pieces that echoed the waves. Several coats of Powertex were needed over the bulky parts of my work to help them stay in place and then I moved to a layer of colour. What I love about this product is that I can happily make mistakes, either in colour choice or by using too much colour, and these can be rectified with a quick dry brush of gloopiness ready for me to try again. It really takes the fear of making mistakes away as I know I can’t ruin my work.

I had great fun experimenting with these.


Purple Boots x

Purple Boots and the Powertex – Part 2

Back with my Powertex uniform on…well not so much a uniform as my painting clothes! Powertex is designed to make fabric hard so obviously it does exactly that, not so great in your favourite jeans. My ‘out of the frame’ pieces have been so popular and the course is filling up so I have produced another sample to entice you.

My fantasy house is made from a large pickle jar. I love the way this great product lets me upcycle so many things. I start with a design idea – where will the windows and door go, do I need a chimney? After some very careful wrapping, using t shirt yarn that I make with my trusty rotary cutter, I am ready to Powertex. A firm brushing embeds the Powertex into the yarn and forms a great base to build on.

An hour later I have a quirky, individual roof for my house, the door is attached and the window frames are ready for some titivation. Old lace or crocheted doilies are spot on for this part of the project. A little drying time and my house is ready for colour. Today’s decoration is teal and purple but Powertex can be coloured in lots of different combinations.


Why not come along and make your own? Your house could soon be living at the end of the garden for the local fairy population, or go darker and make it appeal to some hobgoblins, perfect for the Halloween doorstep. Because my houses are built around a jar, just add some battery powered fairy lights for a whole new effect.

Next project is a seated figure. Perfect for a spot in the garden. Best get my thinking cap on.

Join Purple Boots for her Fantasy House workshop on Wednesday 29th November.

Click here to book online.

Purple Boots and the Powertex


I have been having lots of fun this week experimenting with our new range of Powertex products. Having worked with a visiting Powertex tutor I took myself off to Powertex UK to learn more about this exciting product.

Powertex fabric hardener and textile hardener is an environmentally friendly water-based liquid sculpting medium. It can harden absorbent materials such as textiles, paper, cardboard, fabrics, leather and fiberglass and can be easily combined with self-hardening clays, concrete, stone, ceramic, wood, sand and Stone Art.

Over the summer I have been collecting a range of materials to recycle as Powertex offers masses of opportunities for ‘green’ crafting. I have turned many old t-shirts into t-shirt yarn which we will come in really useful once I move onto bigger figures. Old jewellery is also a great resource, broken necklaces and old buttons and beads. I also discovered some lovely but stained old crocheted doilies in a charity shop and these too will be getting the treatment.

As a way of introducing Powertex I am running a course called Out of the Frame. 
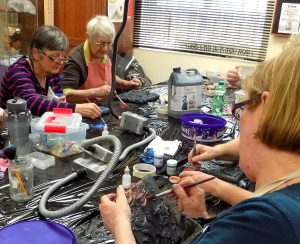
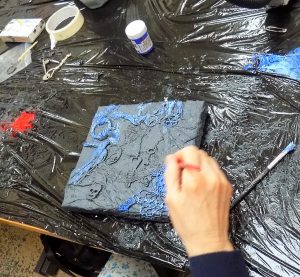
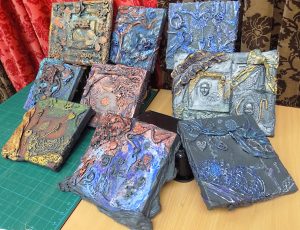
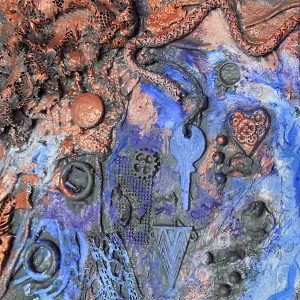
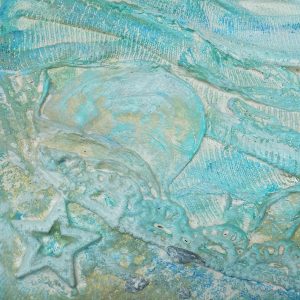
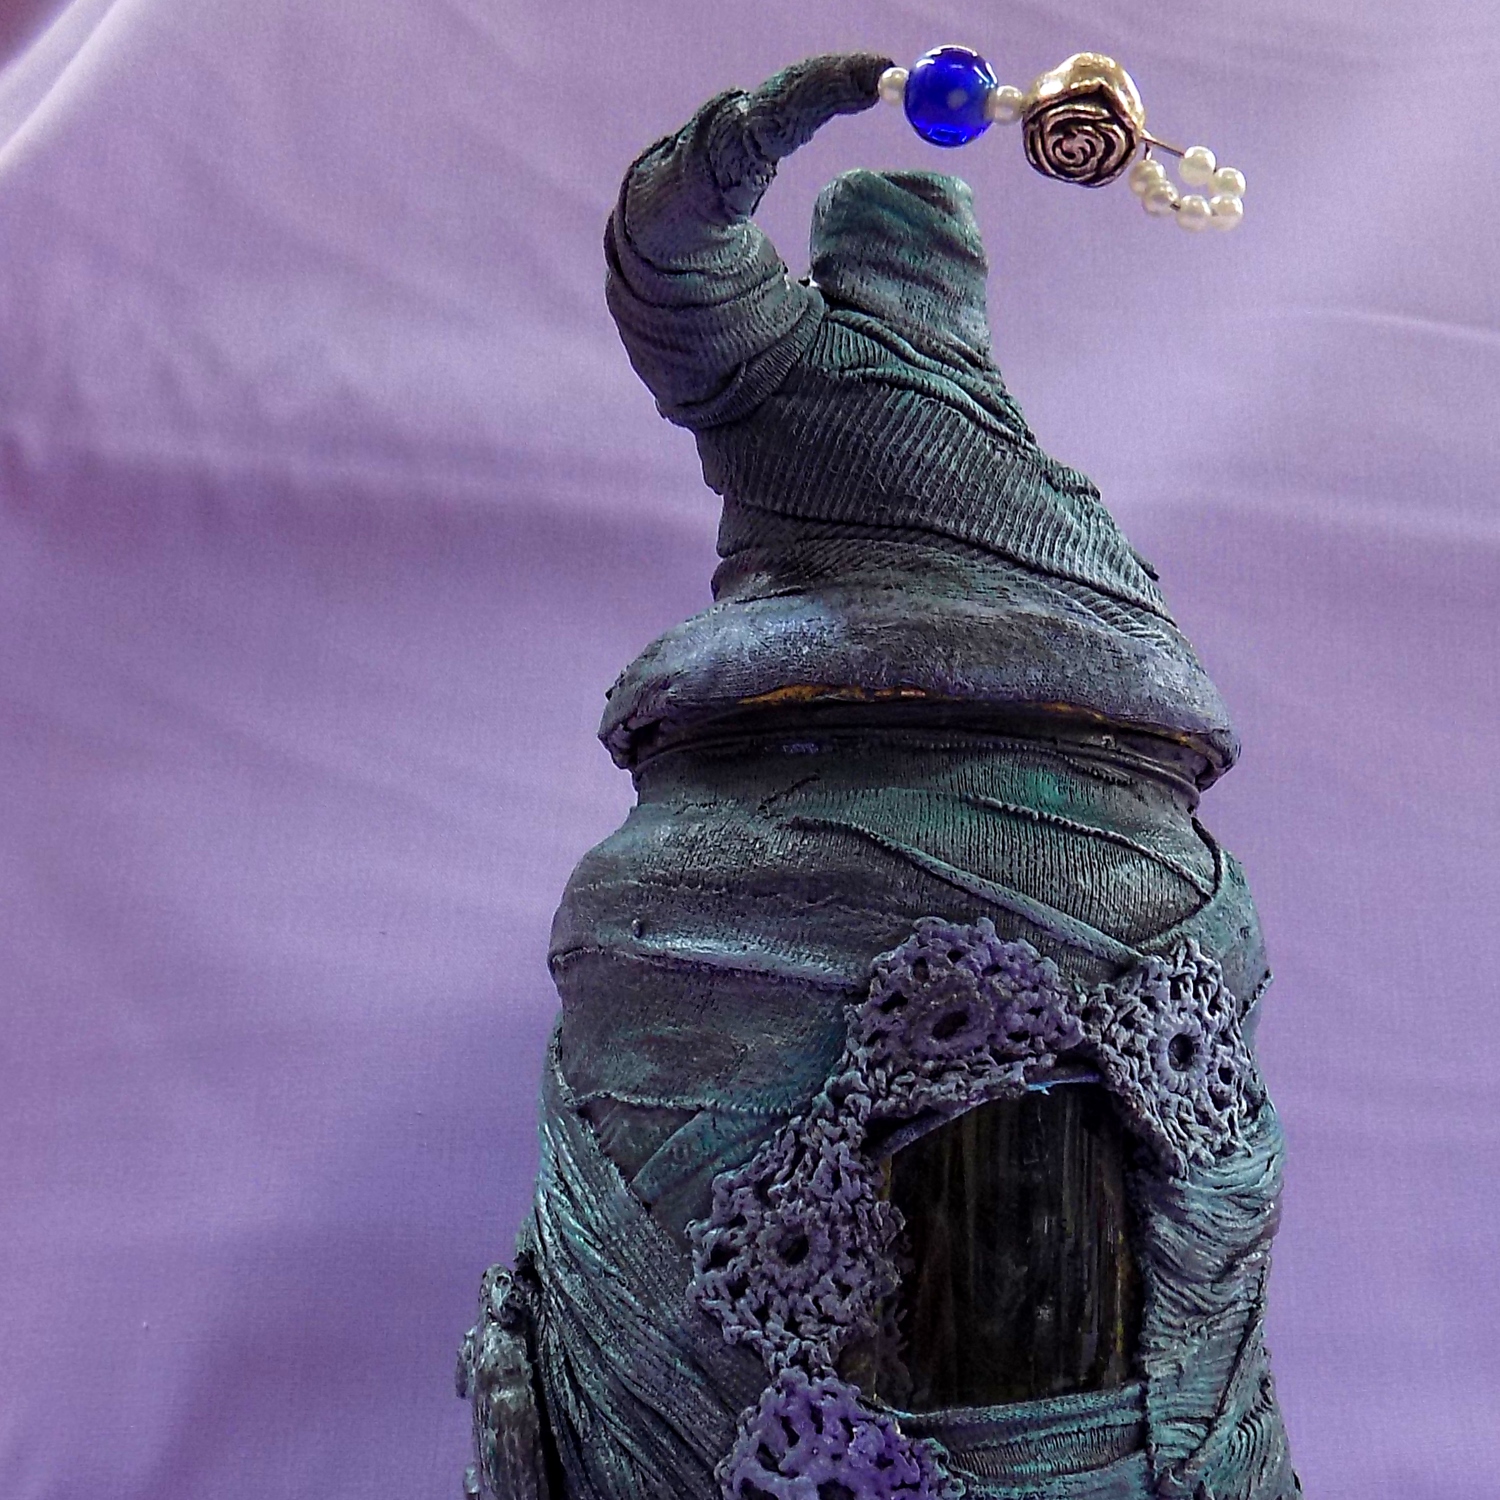
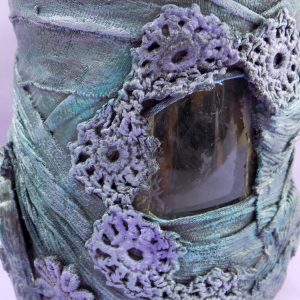
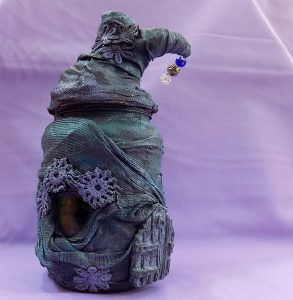
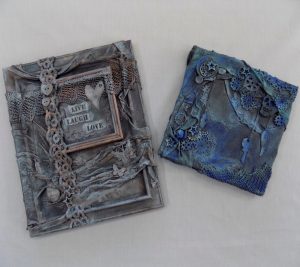
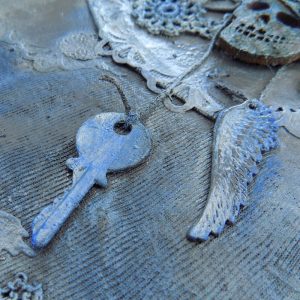
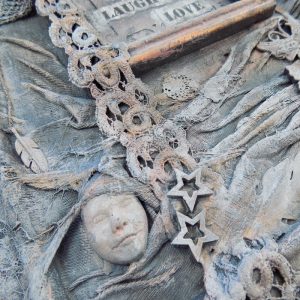
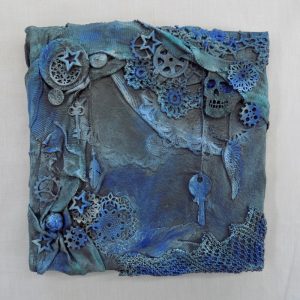
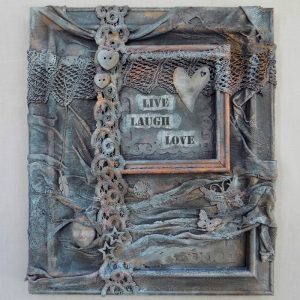
This week I have been busy making the samples. First I covered my base materials – old frames and canvases – with some of those recycled t-shirts then I got creative.
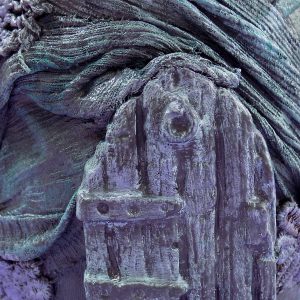
 Powertex is absorbed by the fabric but takes some time to become hard so it allows for lots of opportunities to change my mind and reposition the elements of my designs. In order to get some elements to adhere you need a little patience and some jiggery pokery with scraps of lace and paper.


Time for a brew and step back for half an hour, and now the pieces I have been working on are well on the way to dry. At this point I need to pick a palette of colours for each piece I’m working on. Steampunk is gradually turning into shades of blue while my fantasy frame is a little more subtle with metallic shade.

Unlike other coloured media you cannot go too wrong with colour on Powertex pieces. If it’s too strong I simply take a little Powertex on my brush and blend it over to soften the effect. A little patience, a little layering, and I am done.


Now….fairy houses….hmmm!

Purple Boots x